There’s something truly magical about the smell of fresh bread baking in your own kitchen. For me, it takes me right back to cozy mornings and shared meals. I remember the first time I pulled a perfectly golden loaf out of my Dutch oven – it felt like a superpower! That’s why I’m so excited to share my go-to recipe for an Easy Artisan Bread Recipe (Yeast, Dutch Oven, Whole Wheat) with you today. It’s simple, satisfying, and tastes incredible!
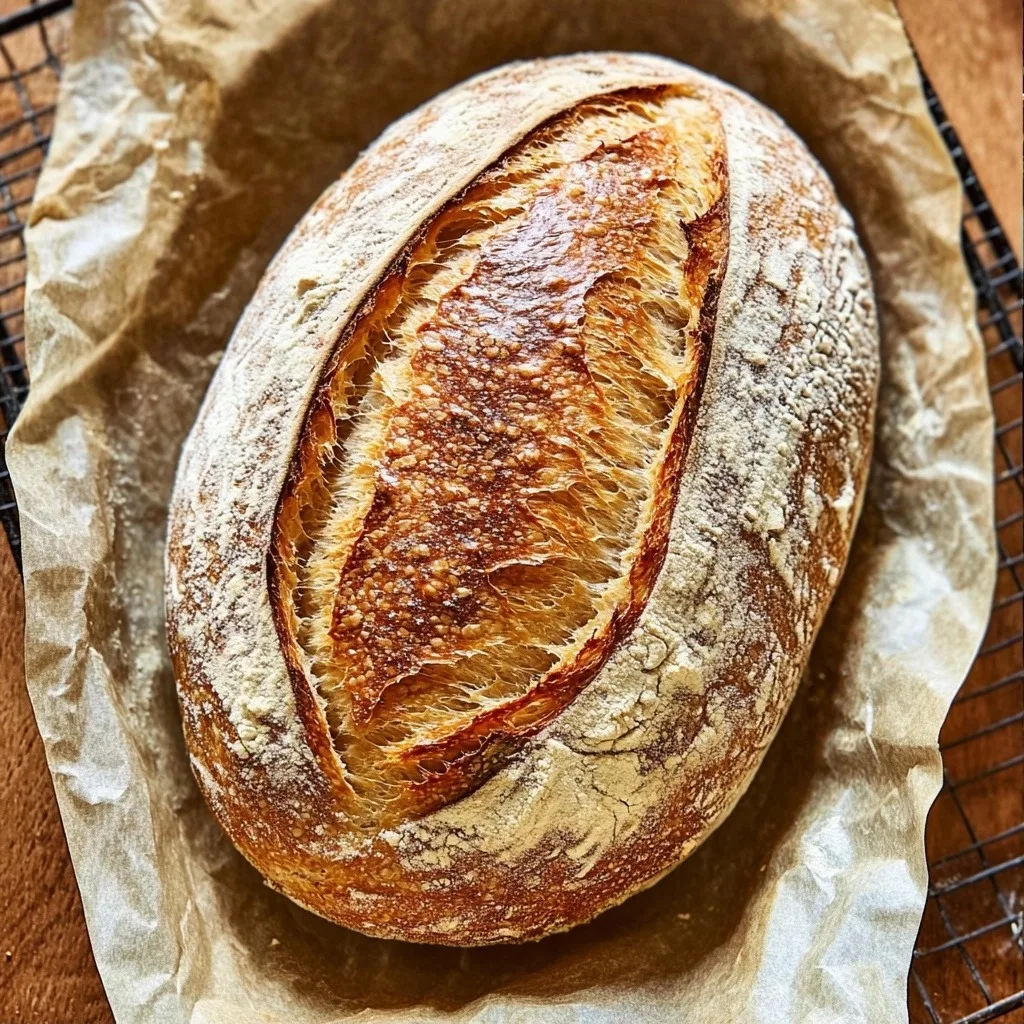
Why You’ll Love This Easy Artisan Bread Recipe (Yeast, Dutch Oven, Whole Wheat)
- It’s incredibly easy to make, even if you’re new to baking bread.
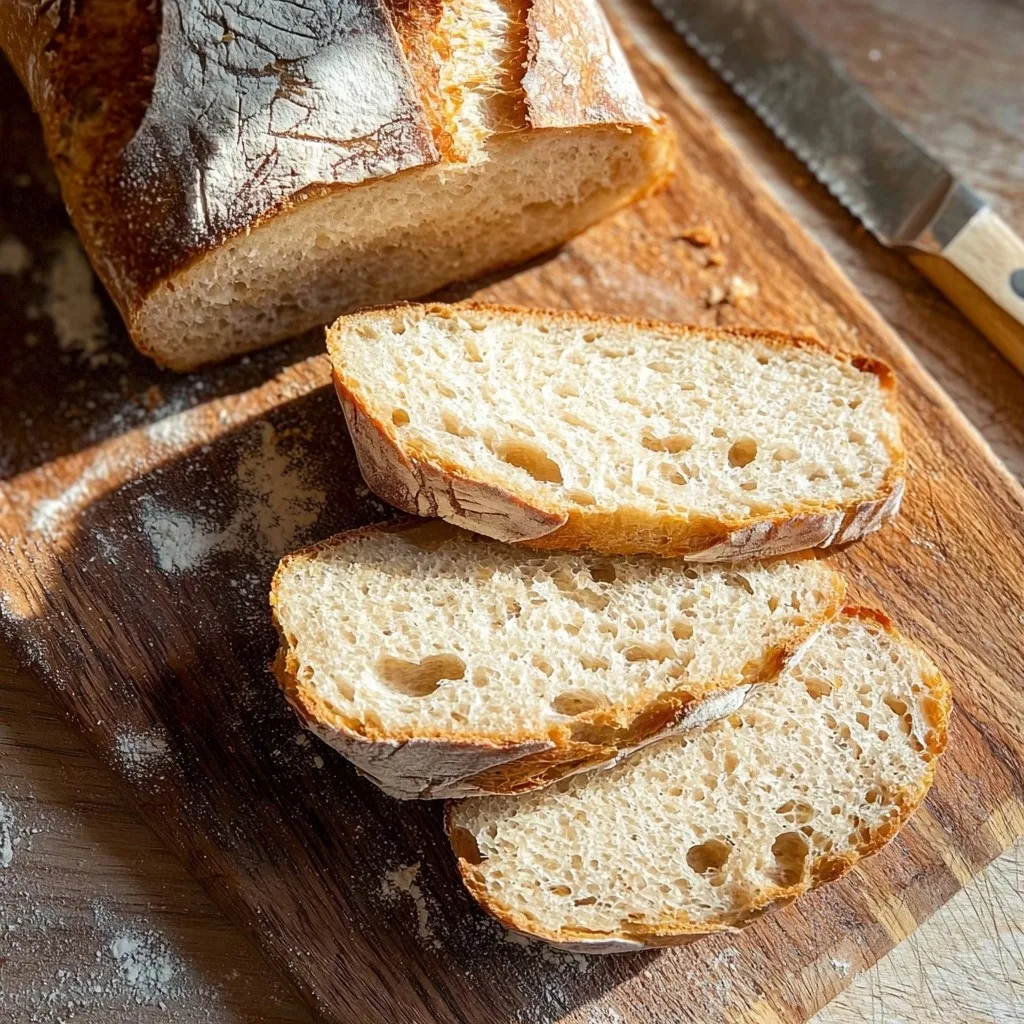
- You get that gorgeous, crackly crust and soft, airy interior every time.
- The whole wheat flour adds a wonderful depth of flavor and a little extra goodness.
- It’s perfect for slicing for sandwiches, dipping in soup, or just enjoying with butter.
Ingredients You’ll Need
- Warm water: This is crucial for waking up your yeast! Make sure it’s warm to the touch, but not hot – around 100-110°F (38-43°C) is ideal.
- Yeast: Both instant or active dry yeast work beautifully here. No need to proof active dry yeast separately, we’re just mixing it right in!
- Salt: Don’t skip this! It’s essential for flavor and also helps control the yeast activity.
- Whole wheat flour: This gives our bread its lovely color and nutty flavor. Whole wheat white flour is also a fantastic option for a slightly milder taste.
- Unbleached all-purpose flour: This balances out the whole wheat, giving the bread a tender crumb and making it easier to work with.
How to Make Easy Artisan Bread Recipe (Yeast, Dutch Oven, Whole Wheat) Step by Step
Making this bread feels so rewarding, and it’s surprisingly straightforward. First, you’ll grab a large bowl and add your yeast and salt, then pour in the warm water. Give it a gentle swirl to start dissolving everything.
Next comes the flour! Add both the whole wheat and all-purpose flours to the bowl. Mix it all together until just combined – it will be a shaggy, sticky dough, and that’s exactly what we want. Then, you can either mix it at a higher speed for about 30 seconds to a minute for a quick knead, or do it by hand for a minute. Don’t worry about overworking it at this stage!
Now for the magic: cover your bowl with plastic wrap or another non-porous lid (not airtight!) and let it sit at room temperature for about 1½ hours. This is where the dough doubles in size, getting all bubbly and alive. After that, you can either bake it right away or pop it in the fridge for up to a week or even a week and a half. This makes it super convenient for fresh bread anytime!
My Top Tips for Success
- I always use a kitchen scale to measure my flour. It’s the most accurate way to ensure consistent results every time.
- Trust me on this one: don’t skip the resting time! That long fermentation is key to the bread’s flavor and texture.
- In my experience, a hot Dutch oven is non-negotiable for that perfect crispy crust. Make sure it preheats for at least 30 minutes.
- When shaping the dough, use well-floured hands. It will be sticky, but gentle handling is best to keep those precious air bubbles.
- Always let the bread cool completely on a rack before slicing. It’s hard to wait, but it allows the internal structure to set properly!
Common Mistakes to Avoid
- Using water that’s too hot or cold: Water that’s too hot can kill the yeast, while water that’s too cold won’t activate it properly. Aim for warm to the touch.
- Over-kneading the dough: Unlike traditional bread, this artisan style doesn’t require extensive kneading. Just mixing until combined is enough.
- Not preheating the Dutch oven enough: A cold Dutch oven won’t give you that amazing crisp crust. Give it ample time to get screaming hot.
- Cutting the bread too soon: Slicing into a hot loaf can make it gummy inside. Patience is a virtue here!
- Using a non-enameled Dutch oven without parchment: The parchment helps prevent sticking and makes transferring the dough much easier in a hot Dutch oven.
How to Store Easy Artisan Bread Recipe (Yeast, Dutch Oven, Whole Wheat)
- Countertop: Up to 2-3 days. Store in a paper bag or a bread box to keep the crust crisp.
- Freezer (sliced): Up to 3 months. Slice the cooled bread, then freeze in a freezer-safe bag. Toast slices directly from frozen.
- Freezer (whole loaf): Up to 3 months. Wrap the cooled loaf tightly in plastic wrap, then foil. Thaw at room temperature, then refresh in a warm oven for 10-15 minutes.
Frequently Asked Questions
Can I use only whole wheat flour?
While you can, the texture will be much denser. The combination of whole wheat and all-purpose flour gives a lighter crumb while still retaining that lovely whole wheat flavor.
Do I really need a Dutch oven?
A Dutch oven is highly recommended for this recipe as it traps steam, creating that signature crust. While you could try a baking stone with a pan of water for steam, the results won’t be quite the same.
What if my dough doesn’t double in size?
Make sure your yeast isn’t expired and your water is the correct temperature. A slightly warmer room can also help with rising. Give it a little more time if needed.
Can I make this dough ahead of time?
Absolutely! That’s one of the best parts. You can store the dough in the refrigerator for up to a week and a half, pulling off what you need for fresh bread anytime.
Why is my bread gummy inside?
This usually happens if the bread wasn’t fully baked or if it was cut before it had a chance to cool completely. Always cool on a rack for at least 30-60 minutes.
I genuinely hope this Easy Artisan Bread Recipe (Yeast, Dutch Oven, Whole Wheat) brings so much joy and deliciousness to your home. There’s nothing quite like pulling a warm, crusty loaf out of the oven. Give it a try, and let me know how it turns out – I’d love to hear about it!
PrintEasy Artisan Bread Recipe (Yeast, Dutch Oven, Whole Wheat)
This simple recipe yields a beautiful, crusty artisan loaf with a soft interior, perfect for beginners and seasoned bakers alike.
- Prep Time: 10
- Cook Time: 35
- Total Time: 135
- Yield: 2 loaves
- Category: Baking
- Method: Baking
- Cuisine: American
- Diet: Vegetarian
Ingredients
- 3 cups warm water
- 1 tablespoon yeast, both instant or active dry work
- 2½ teaspoon salt
- 3½ cups whole wheat flour
- 3 cups unbleached all-purpose flour
Instructions
- Place the yeast and salt in a large mixing bowl.
- Add the warm water to the bowl.
- Add all the whole wheat flour and unbleached all-purpose flour to the bowl.
- Mix until all ingredients are just combined and no dry flour remains.
- Mix at a higher speed for 30 seconds to 1 minute, or knead by hand for 1 minute.
- Cover the bowl with plastic wrap or a non-porous lid (not airtight).
- Let the dough rest at room temperature for about 1½ hours, or until it has doubled in size.
- Transfer the dough to the refrigerator for up to a week and a half, or proceed to baking.
- When ready to bake, preheat your oven to 450°F (232°C).
- Place an enameled Dutch oven with its lid into the preheating oven.
- Dust the surface of the dough with a little flour.
- Use a serrated knife to cut off approximately half of the dough for one loaf.
- Using well-floured hands, gently shape the dough into a ball.
- Place the shaped dough onto a piece of parchment paper, resting it on a cookie sheet or in a small round skillet to help maintain its shape.
- Dust the top of the shaped loaf with more flour.
- Let the shaped dough sit on the counter for 30 minutes if baking immediately, or 1 hour if the dough was refrigerated.
- Carefully slash the top of the loaf with a serrated knife.
- Carefully transfer the loaf (using the parchment paper edges) into the hot Dutch oven.
- Replace the lid on the Dutch oven.
- Bake for 15 to 17 minutes with the lid on.
- Remove the lid from the Dutch oven.
- Continue to bake for another 15 to 17 minutes, or until the loaf is golden brown.
- Carefully remove the baked loaf from the Dutch oven.
- Transfer the loaf to a wire cooling rack.
- Allow the bread to cool for 30 to 60 minutes before slicing and serving.
Notes
Ensure water is warm (100-110°F) to activate yeast properly.
Use a kitchen scale for accurate flour measurements.
Do not over-knead; a quick mix is all that’s needed.
Always cool bread completely before slicing for best texture.