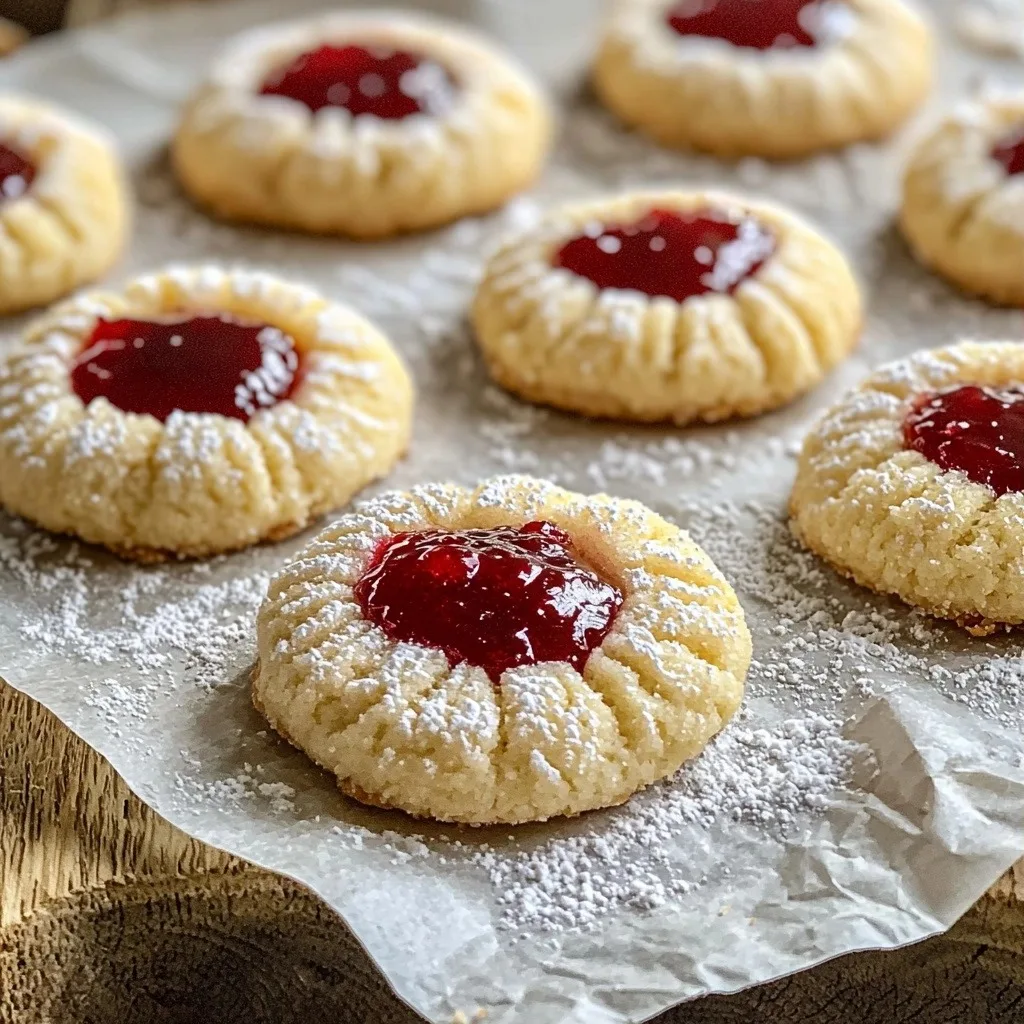
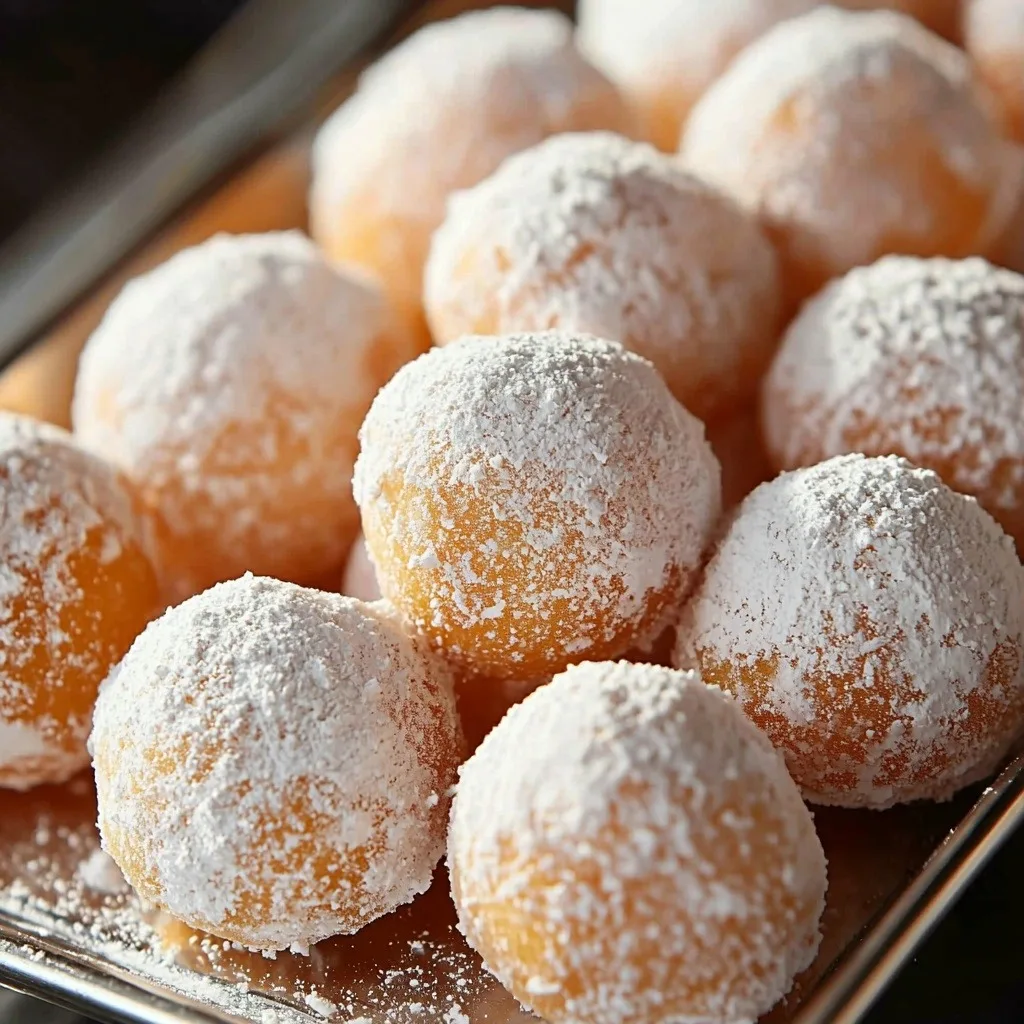
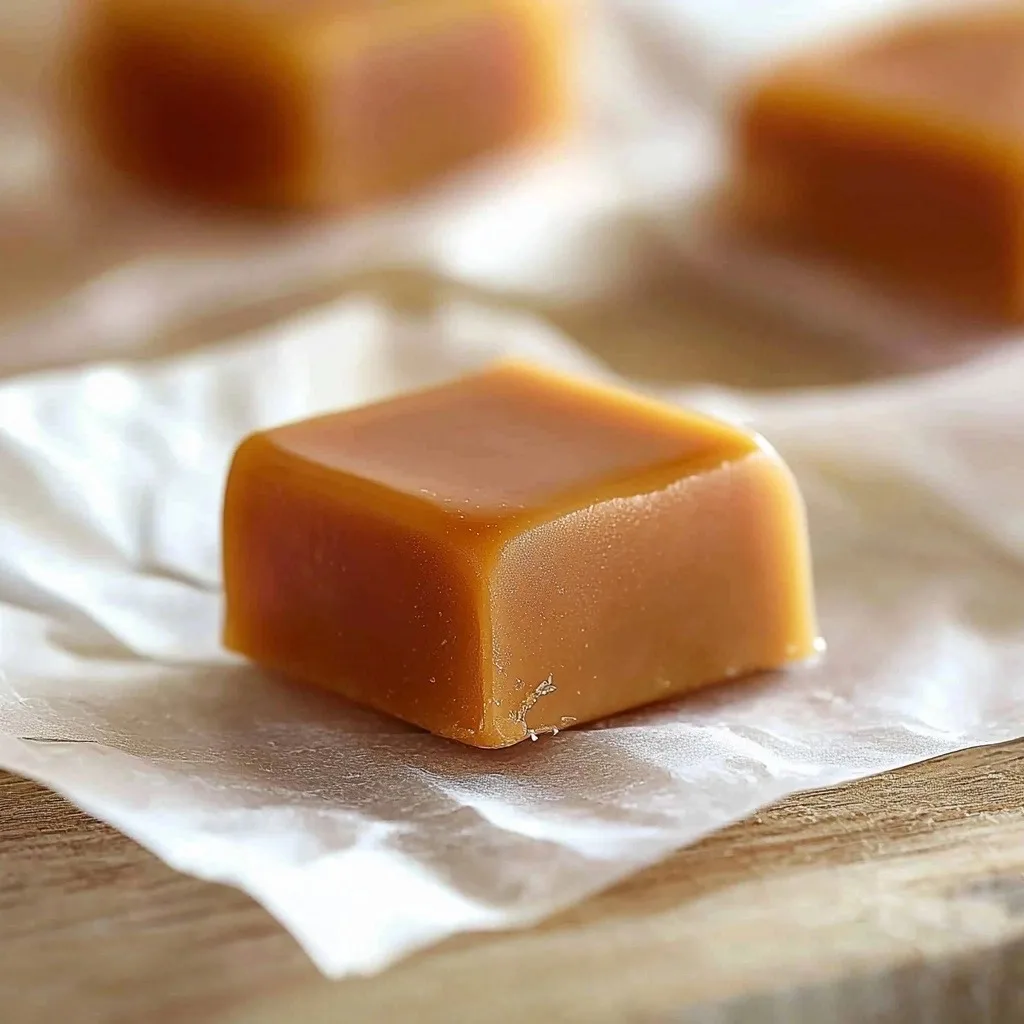
There’s just something magical about homemade caramels, isn’t there? For me, they bring back memories of cozy autumn evenings, the kitchen filled with that sweet, buttery aroma. It’s a scent that just wraps around you like a warm hug. And while they might seem a little intimidating, making a batch of these Soft, Buttery Homemade Caramels is actually quite a simple joy. Trust me, once you try these, you’ll never go back to store-bought!
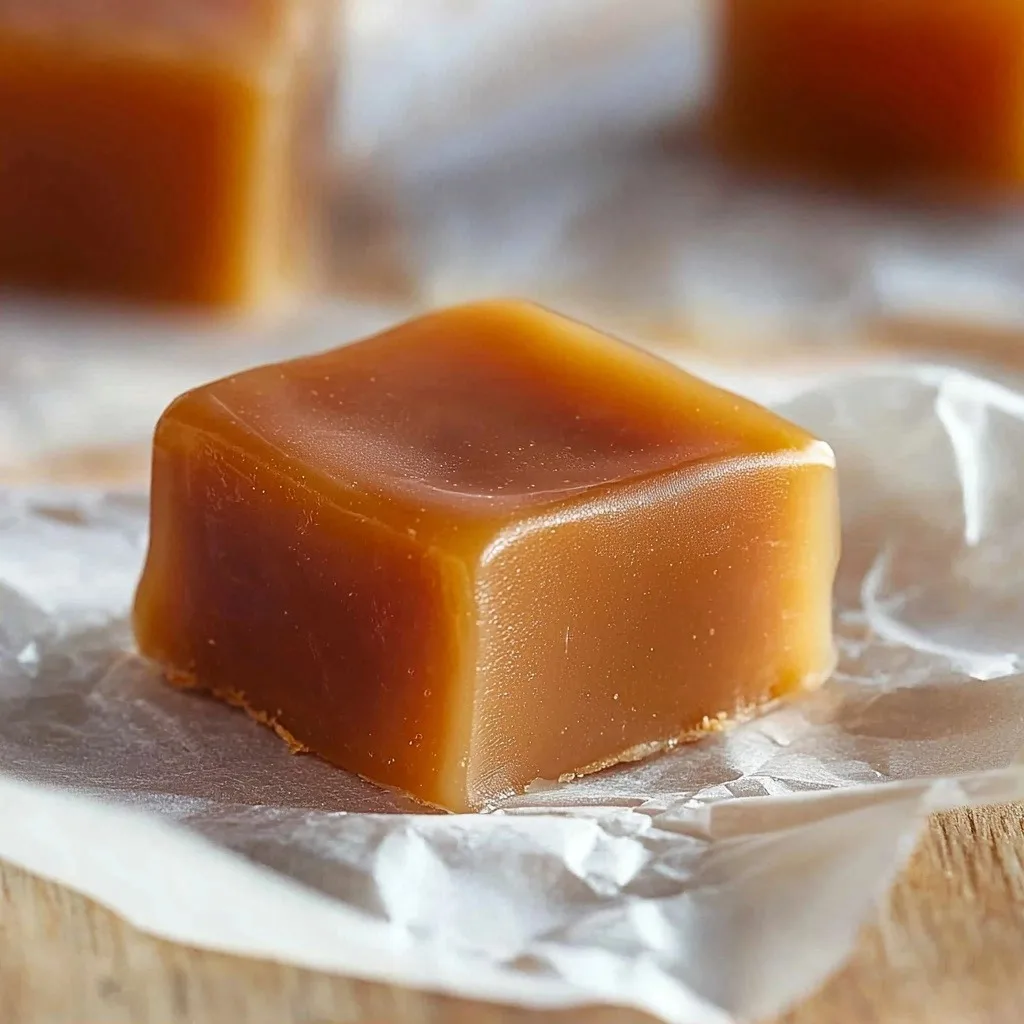
Why You’ll Love This Soft, Buttery Homemade Caramels
- They are incredibly soft and melt-in-your-mouth tender, never too hard or sticky.
- The rich, buttery flavor is absolutely irresistible and screams homemade goodness.
- They make perfect gifts for friends and family, wrapped up in pretty parchment paper.
- You only need a few basic ingredients to create this delicious candy!
Ingredients You’ll Need
- Granulated Sugar: This is our main sweetener and gives the caramels their classic structure. No substitutions here!
- Butter: Use real butter for the best flavor and texture. It contributes to that lovely richness.
- White Corn Syrup: This is a key ingredient for preventing crystallization and keeping your caramels super soft and smooth. Don’t skip it!
- Kosher Salt: A little salt balances the sweetness beautifully and really makes the caramel flavor pop.
- Evaporated Milk: This is what gives the caramels their creamy texture and distinctive flavor. Make sure it’s evaporated milk, not condensed milk.
How to Make Soft, Buttery Homemade Caramels Step by Step
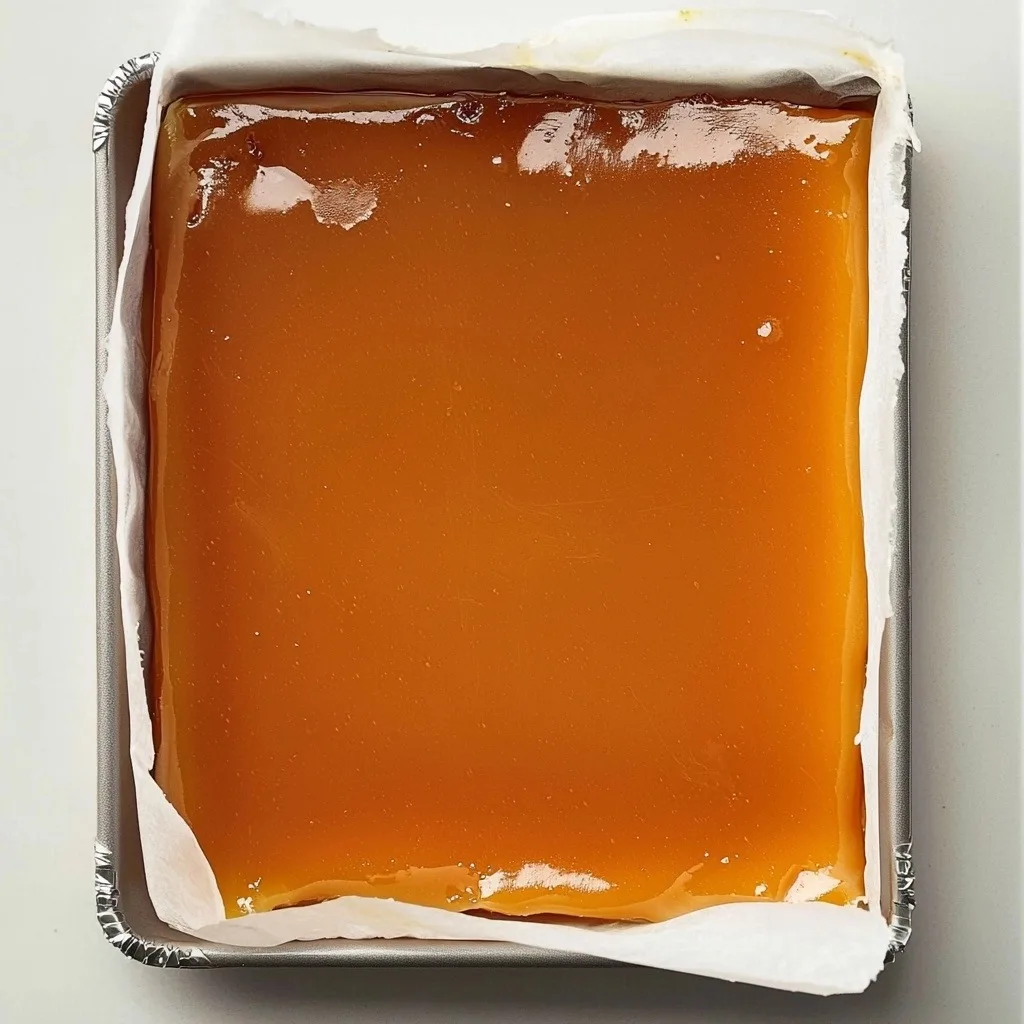
First things first, get your pan ready! Line a 9×13 inch pan with parchment paper. This is super important because it makes removing the finished caramels so much easier. You’ll thank yourself later, I promise!
Now, grab your biggest, heaviest pot. A stainless steel one is ideal because it helps distribute heat evenly. You’ll combine the sugar, butter, corn syrup, and salt in there. Place it over medium heat and stir until everything is melted and well combined. This is the start of your caramel journey!
Once it’s boiling, it’s time for the evaporated milk. This is where you need a little patience, but it’s totally worth it. Add the milk very slowly, a little at a time, taking about 10-15 minutes for each can. Keep stirring constantly as you add it. This slow addition helps maintain the temperature and keeps your caramel smooth. After all the milk is in, grab your candy thermometer. You’re aiming for a temperature between 238°F and 240°F. This usually takes another 15 minutes or so. Don’t go any higher than 240°F, or your caramels might get too chewy!
My Top Tips for Success
- I always use a heavy-bottomed pot to prevent scorching. It makes a big difference!
- In my experience, stirring constantly, especially when adding the milk, is crucial for a smooth caramel.
- Trust me on this one: invest in a reliable candy thermometer. It’s your best friend for perfect caramels. I even double-check with an instant-read thermometer as it gets close to temperature.
- Don’t rush the cooling process. Letting them cool completely ensures they set up properly.
- Freezing the set caramels for 20-30 minutes before cutting makes them so much easier to slice cleanly.
Common Mistakes to Avoid
- Not stirring enough: If you don’t stir constantly, especially after adding the evaporated milk, your caramel can scorch on the bottom of the pot. Keep that spoon moving!
- Heating too quickly: Rushing the melting and cooking process can lead to an unevenly cooked caramel or crystallization. Be patient and keep the heat at medium.
- Overcooking the caramel: If the temperature goes above 240°F, even by a few degrees, your caramels will be too hard and chewy instead of soft and buttery. Always use a thermometer and pull it off the heat as soon as it hits the target.
- Cutting too soon: Trying to slice the caramels before they are fully cooled and chilled will result in a messy, sticky situation. Give them plenty of time to firm up.
How to Store Soft, Buttery Homemade Caramels
- Room Temperature: Up to 1-2 weeks in an airtight container, wrapped individually in parchment or wax paper.
- Refrigerator: Up to 3-4 weeks in an airtight container, wrapped individually. Allow them to come to room temperature for the best texture.
- Freezer: Up to 3 months in an airtight, freezer-safe container, wrapped individually. Thaw at room temperature before enjoying.
Frequently Asked Questions
What kind of pot is best for making caramels?
A large, heavy-bottomed pot, ideally stainless steel, works best. The heavy bottom helps prevent scorching and distributes heat evenly for a smooth caramel.
Can I use a different type of milk?
No, evaporated milk is essential for this recipe. It has a different fat and water content than regular milk, which is key to the caramel’s texture and flavor.
Why do my caramels turn out too hard?
Your caramels are likely too hard because they were cooked to too high a temperature. Make sure to remove them from the heat as soon as they reach 238-240°F.
Do I really need a candy thermometer?
Yes, a candy thermometer is crucial for success. It ensures your caramels reach the precise temperature needed for that perfect soft, buttery texture.
How do I prevent the caramels from sticking when cutting?
Chilling the caramels (refrigerating for a few hours or freezing for 20-30 minutes) before slicing helps them firm up and makes cutting much easier and cleaner.
I hope these Soft, Buttery Homemade Caramels bring a little bit of sweet joy to your kitchen! They’re truly a labor of love, but so incredibly rewarding. If you give them a try, I’d absolutely love to hear how they turned out for you!
PrintSoft, Buttery Homemade Caramels
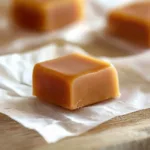
Indulge in these incredibly soft, melt-in-your-mouth homemade caramels, perfect for gifting or a sweet treat.
- Prep Time: 15
- Cook Time: 45
- Total Time: 300
- Yield: approximately 100 pieces
- Category: Dessert
- Method: Stovetop
- Cuisine: American
- Diet: Vegetarian
Ingredients
- 4 cups (800g) granulated sugar
- 2 sticks (226g) butter
- 2 cups (480ml) white corn syrup
- 1 teaspoon kosher salt
- 2 12 oz. cans (708ml) evaporated milk
Instructions
- Line a 9×13 inch pan with parchment paper.
- Set the prepared pan aside.
- Melt the sugar, butter, corn syrup, and salt together in a large, heavy-bottomed pot over medium heat.
- Stir the mixture constantly until fully melted and combined.
- Once the mixture comes to a boil, slowly add the first can of evaporated milk, a little at a time.
- Continue stirring constantly while adding the milk over 10-15 minutes.
- Add the second can of evaporated milk slowly, a little at a time.
- Continue stirring constantly while adding the second can of milk over 10-15 minutes.
- Insert a candy thermometer into the mixture.
- Bring the mixture to a temperature of 238°F-240°F, stirring occasionally.
- Double-check the temperature with an instant-read thermometer as it approaches 238°F.
- Immediately pour the hot caramel mixture into the prepared pan.
- Cool the caramel completely at room temperature.
- Freeze the cooled caramel for 20-30 minutes before slicing, or refrigerate for a few hours.
- Cut the firm caramel into desired pieces.
- Serve and enjoy!
Notes
Always use a heavy-bottomed pot to prevent scorching.
Stir constantly, especially when adding the milk, for a smooth caramel.
Use a reliable candy thermometer for accurate temperature readings.
Chill the caramels thoroughly before cutting for clean slices.