The holidays always bring back so many sweet memories for me, and baking is a huge part of that. There’s just something magical about filling the kitchen with delicious smells and creating treats that make everyone smile. These Grinch Cookies have become an absolute staple in my festive baking lineup, and they always disappear so fast! They’re super fun to make and even more fun to eat.
Why You’ll Love These Grinch Cookies
- They’re incredibly easy to whip up, even for beginner bakers.
- The texture is perfectly soft and chewy, just like a good cookie should be.
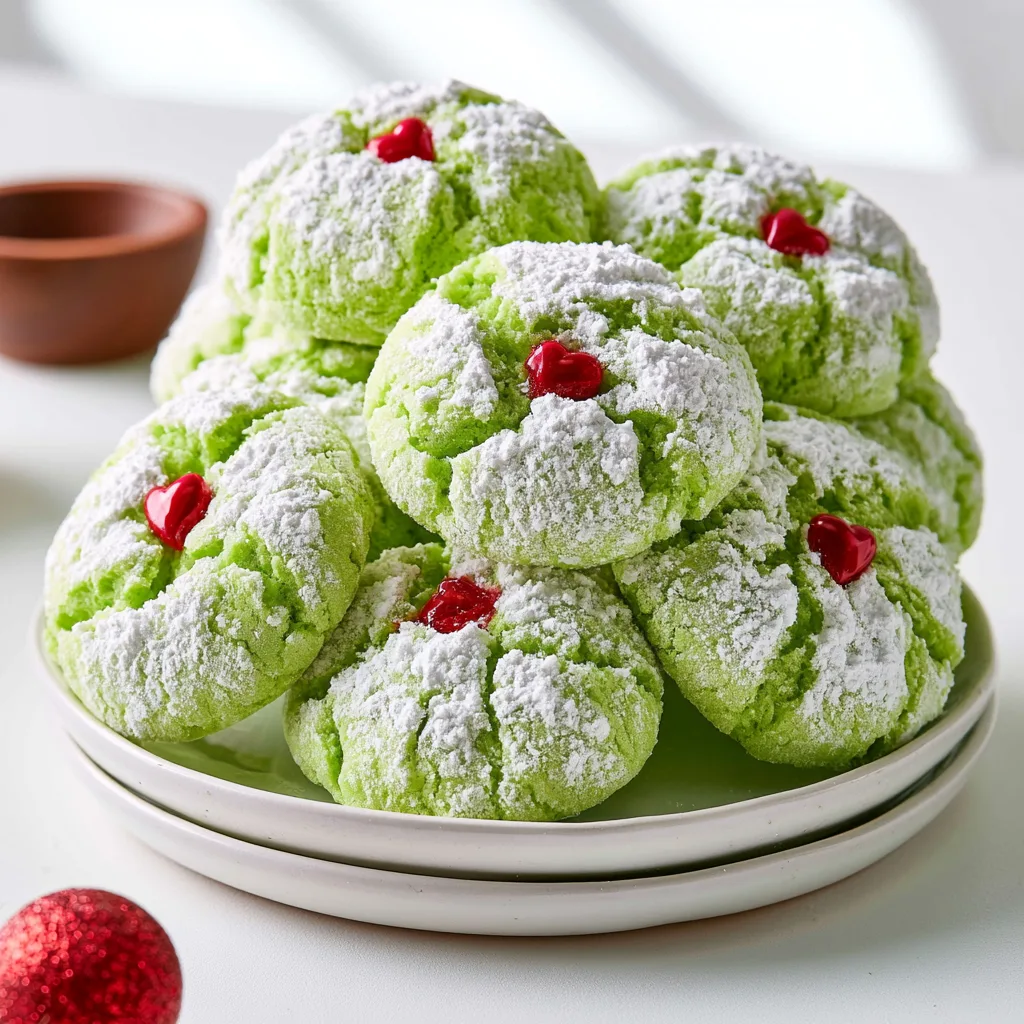
- That festive green color and little red heart make them so much fun for the holidays!
- They have a lovely hint of mint that’s just right for the season.
Ingredients You’ll Need
- White Cake Mix: This is our secret shortcut for super soft, flavorful cookies without a ton of effort. Don’t swap it for another cake mix flavor if you want that classic taste!
- Unsalted Butter: Make sure it’s softened, not melted. This helps create that perfect chewy texture.
- Eggs: Room temperature eggs mix more evenly into the batter.
- Peppermint or Mint Extract: This gives the cookies their signature holiday flavor. You can use either, but peppermint is a little stronger.
- Green Gel Food Coloring: Gel coloring gives you a much more vibrant color without thinning out the dough like liquid coloring can.
- Powdered Sugar & Cornstarch: This magical dusting mixture helps prevent sticking and gives the cookies a lovely crinkled look.
- Red Heart-Shaped Sprinkles: These are essential for that iconic Grinch look! Cinnamon hearts work great too if you like a little spice.
How to Make Grinch Cookies Step by Step
First things first, let’s get your oven ready! Preheat it to a cozy 375°F. While that’s warming up, grab a large baking sheet and line it with parchment paper. This makes cleanup a breeze and helps your cookies bake evenly.
Now for the dough! In a big bowl, combine your cake mix, softened butter, and eggs. Use your hand-held mixer or a stand mixer and beat them until everything is just well combined. Next, add in your peppermint (or mint) and vanilla extracts. This is where the magic happens – add your green gel food coloring, a little at a time, until you get that perfect Grinch green. Mix it on low speed just until combined. Don’t worry if the batter looks thick and sticky; that’s exactly how it should be!
In a separate small bowl, whisk together your powdered sugar and cornstarch. This is what we’ll roll our dough balls in. Grab your 1 1/2 tablespoon cookie scoop and scoop out portions of dough. Roll each one in the powdered sugar mixture to coat it completely. Remember, the dough is sticky, so this coating helps! Place your coated cookie dough balls about 1 inch apart on your prepared baking sheet. Bake them for 10 to 12 minutes, or until the edges look set and the tops appear dry. As soon as they come out of the oven, immediately press a red heart-shaped sprinkle or cinnamon onto each cookie. Gently press it down so it sticks. Let them cool on the baking sheet for about 5 minutes, then transfer them to a wire rack to cool completely. And just like that, you have a tray of festive Grinch Cookies!
My Top Tips for Success
- I always make sure my butter is truly softened, not melted, for the best cookie texture.
- Trust me on this one: use gel food coloring. It gives a much brighter, more intense green.
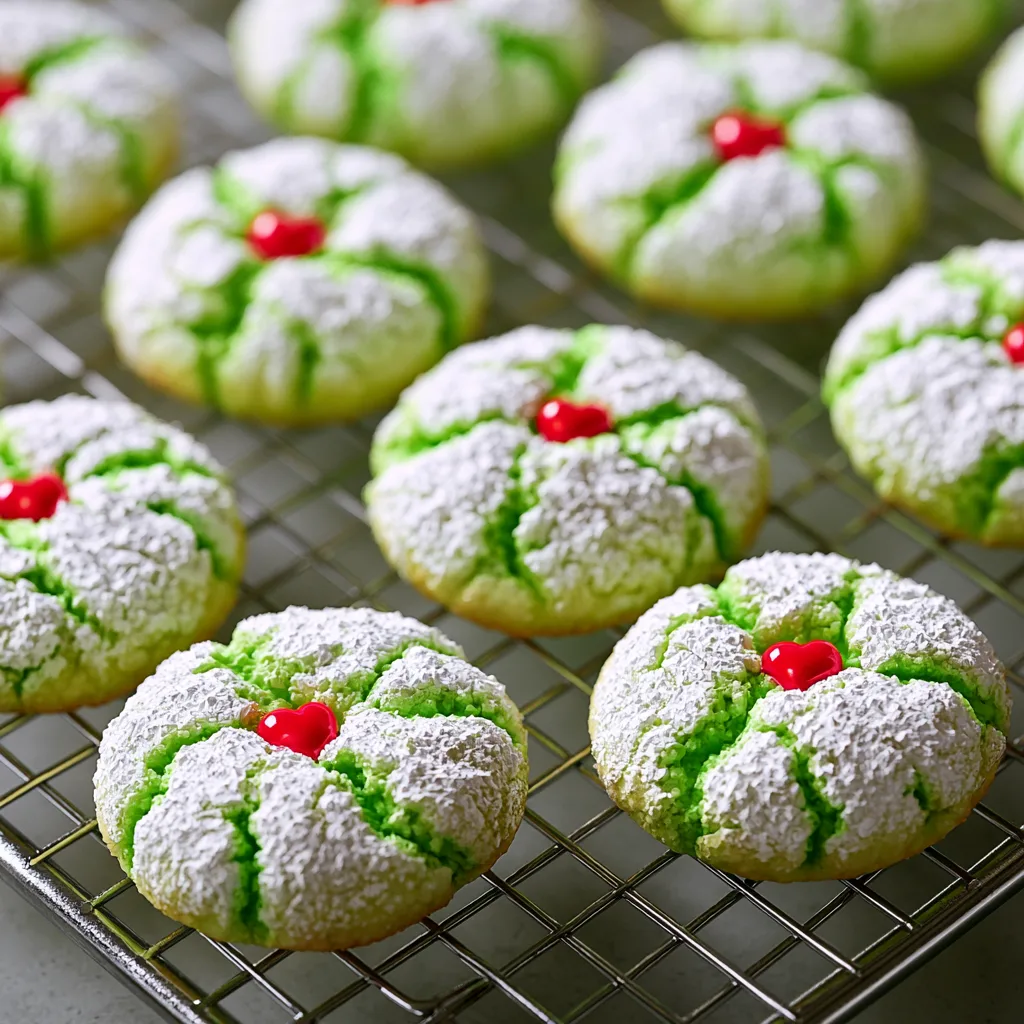
- Don’t skip the powdered sugar and cornstarch coating! It helps with the crinkly look and keeps things from sticking.
- In my experience, a cookie scoop ensures all your cookies are the same size and bake evenly.
- Don’t overbake! Pull them out when the edges are set and the tops look dry. They’ll continue to set up as they cool.
- Have your heart sprinkles ready to go the moment the cookies come out of the oven, they stick best when the cookies are warm.
Common Mistakes to Avoid
- Overmixing the Dough: This can lead to tough cookies. Mix just until combined after adding each ingredient.
- Using Liquid Food Coloring: Liquid coloring can thin out your dough and you’ll need a lot more to get a vibrant green, which can affect the cookie’s texture. Stick to gel!
- Not Softening Butter: Hard butter won’t cream properly with the cake mix and eggs, resulting in an uneven dough. Make sure it’s soft to the touch.
- Overbaking: If you bake them too long, they’ll be dry and hard instead of soft and chewy. Watch for those set edges and dry tops.
- Forgetting the Sprinkles Immediately: If you wait too long, the cookies will cool and the sprinkles won’t adhere well. Place them on right after they come out of the oven.
How to Store Grinch Cookies
- Room Temperature: Store in an airtight container for up to 3-4 days.
- Freezer (Dough): Roll dough balls, coat in powdered sugar, and freeze on a baking sheet. Once solid, transfer to a freezer-safe bag for up to 2 months. Bake from frozen, adding a couple of minutes to the bake time.
- Freezer (Baked Cookies): Once completely cooled, place cookies in a single layer in an airtight freezer-safe container, separating layers with parchment paper. Freeze for up to 1 month. Thaw at room temperature.
Frequently Asked Questions
Can I make these cookies without cake mix?
This recipe relies on cake mix for its unique texture and ease. While you could try a from-scratch recipe, it wouldn’t be quite the same as these Grinch Cookies. If you’re looking for other festive options, check out these Grinch Sugar Cookies!
Why are my cookies spreading too much?
Cookies usually spread too much if your butter was too warm or if your oven temperature isn’t accurate. Make sure your butter is just softened, not melted, and consider chilling the dough for 15-20 minutes before baking if you have issues.
Can I use a different color food coloring?
Absolutely! While green is for Grinch Cookies, you can use any color you like for other occasions. Just remember to use gel food coloring for the best results.
What if I don’t have heart-shaped sprinkles?
You can use small red candies, or even just a tiny dab of red icing to draw a heart. The key is that little pop of red for the Grinch’s heart!
Can I add other flavors?
You can experiment with other extracts if you prefer! A touch of almond or even a different holiday flavor like gingerbread extract could be fun, but it will change the classic Grinch cookie taste.
I hope these Grinch Cookies bring as much joy and festive cheer to your kitchen as they do to mine. They’re such a fun and simple way to celebrate the season. If you make them, I’d absolutely love to hear how they turned out and if they made your heart grow three sizes!
PrintGrinch Cookies
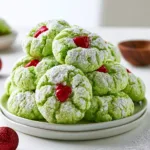
Festive, soft, and chewy green cookies with a hint of mint, topped with a red heart for a delightful holiday treat.
- Prep Time: 15
- Cook Time: 12
- Total Time: 35
- Yield: 24 cookies
- Category: Dessert
- Method: Baking
- Cuisine: American
Ingredients
- 15.25 ounces white cake mix
- 8 tablespoons unsalted butter, softened
- 2 large eggs, room temperature
- 2 teaspoons peppermint extract or mint extract
- ½ teaspoon vanilla extract
- green gel food coloring
- ¼ cup powdered sugar
- 3 tablespoons cornstarch
- red heart-shaped sprinkles or cinnamon hearts
Instructions
- Preheat the oven to 375°F.
- Line a large baking sheet with parchment paper.
- Use a hand-held mixer or stand mixer to mix together the cake mix, butter, and eggs.
- Mix until well combined.
- Add in the peppermint (or mint) and vanilla extracts.
- Add enough green food coloring to achieve your desired color.
- Mix on low speed just until combined.
- In a small bowl, whisk together the powdered sugar and cornstarch.
- Scoop the dough with a 1 1/2 tablespoon cookie scoop.
- Roll the cookie dough balls in the powdered sugar mixture to coat.
- Place the coated dough balls about 1 inch apart on the prepared baking sheet.
- Bake for 10 to 12 minutes.
- Remove the cookies from the oven when the edges are set and the top appears dry.
- Immediately place a heart-shaped sprinkle on each cookie.
- Gently press the sprinkle down so it sticks to the cookie.
- Cool the cookies on the baking sheet for 5 minutes.
- Remove to a wire rack to cool completely.
Notes
Ensure butter is softened, not melted, for the best cookie texture.
Use gel food coloring for a vibrant green without thinning the dough.
Don’t overmix the dough after adding the extracts and food coloring.
Have heart sprinkles ready to place immediately after baking for best adherence.