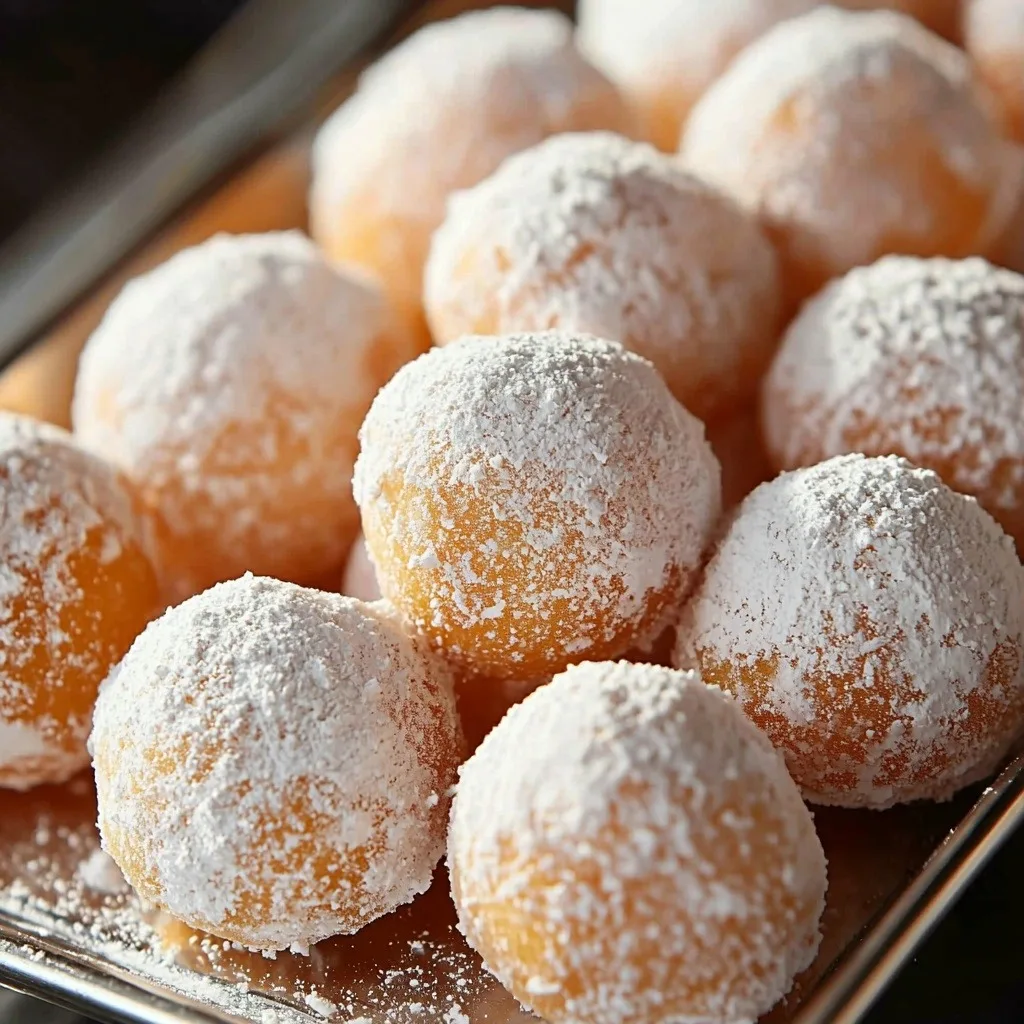
There’s just something about the combination of orange and vanilla that transports me straight back to childhood summers. Remember those dreamy creamsicle pops from the ice cream truck? Pure bliss!
Well, I’ve found a way to capture that nostalgic flavor in a grown-up, bite-sized treat: these absolutely divine Orange Creamsicle Truffles. They’re so easy to make, and honestly, they taste like a little piece of sunshine. You’re going to love them!
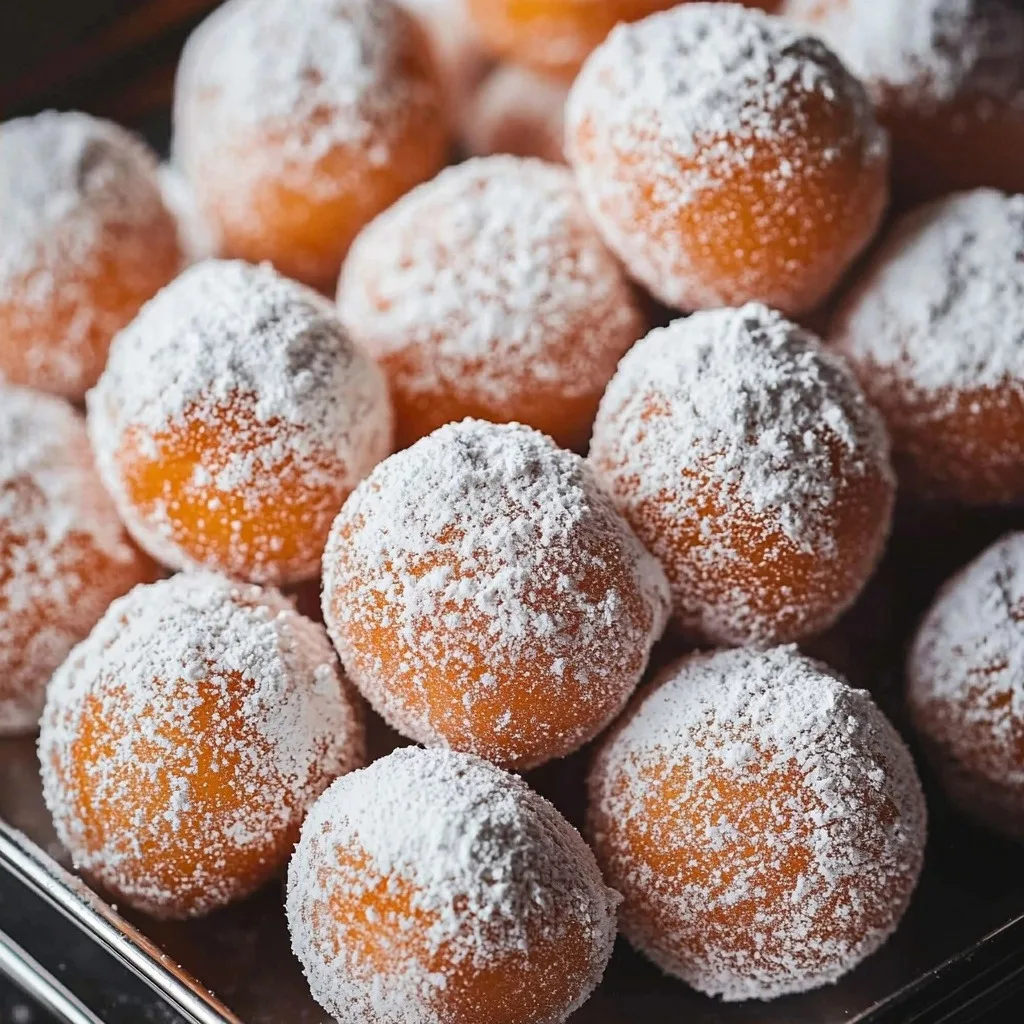
Why You’ll Love This Orange Creamsicle Truffles
- They’re incredibly easy to make with just a few simple ingredients.
- The texture is wonderfully rich and melt-in-your-mouth smooth.
- That bright, zesty orange flavor perfectly balances the sweet, creamy notes.
- They’re perfect for gifting, parties, or just a little sweet treat for yourself!
Ingredients You’ll Need
- Chopped White Chocolate: This is the base of our truffles. Make sure to use good quality white chocolate chips or a chopped bar for the best flavor and texture.
- Unsalted Butter: Adds richness and helps create that smooth, ganache-like consistency. Unsalted is best so you can control the saltiness.
- Orange Zest: This is where we get that vibrant, fresh orange flavor! Don’t skip it – the oils in the zest are key.
- Heavy Whipping Cream: Creates a luscious, creamy truffle. Don’t use half-and-half or milk; you need the high fat content of heavy cream.
- Orange Extract: Boosts the orange flavor even further. A little goes a long way!
- Oil-Based Orange Food Coloring: Totally optional, but it gives your truffles that beautiful, classic creamsicle orange hue. Make sure it’s oil-based for chocolate!
- Powdered Sugar: We’ll use this for coating the truffles, giving them a lovely finish and preventing stickiness.
How to Make Orange Creamsicle Truffles Step by Step
First things first, get your white chocolate ready! Chop it up finely and place it in a heat-proof container with a lid. Have a strainer and a spatula nearby, because things move quickly once we start cooking.
Now, grab a small saucepan and combine your butter and orange zest. You’ll gently heat this over medium heat until it comes to a boil. Once you see those bubbles, let it cook for just one minute, whisking constantly. This step really helps infuse that wonderful orange flavor into the butter!
Next, while still whisking, pour in your heavy whipping cream. Keep whisking and cooking for another 1-2 minutes until you see bubbles forming around the edges of the pan. This is where the magic happens and everything starts to come together. Take the saucepan off the heat, then carefully pour the hot butter mixture through your strainer right over the chopped white chocolate. Use your spatula to press all that lovely orange zest in the strainer to get every last drop of flavor out. Don’t worry if a few solid pieces of chocolate remain after whisking; they’ll melt as it chills.
Let the mixture sit for a minute, then stir in the orange extract and, if you’re using it, the orange food coloring. Whisk until most of the chocolate has melted. Now, seal up your container and pop it into the freezer for about an hour. You want it firm enough to roll, but not rock solid.
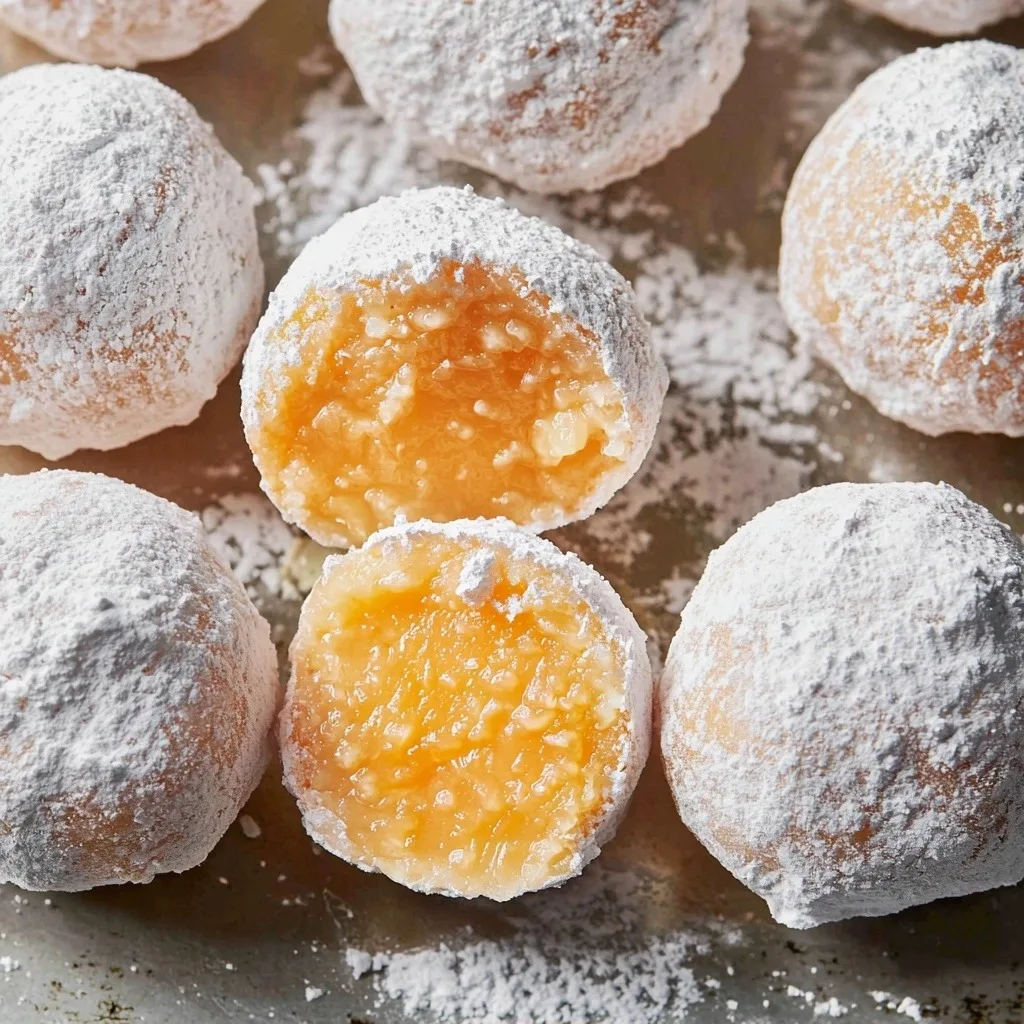
When your truffle mixture is firm, it’s time to roll! Get two containers ready: one with 1/4 cup powdered sugar, and another small bowl with another 1/4 cup. Scoop out about a tablespoon of the mixture, roll it gently between your hands into a ball, and then drop it into the bowl of powdered sugar. Toss to coat, then transfer it to your storage container. Keep going until all your truffles are formed.
Once they’re all rolled, seal the storage container and give it a gentle shake to make sure every truffle is nicely coated. A little tip: keep some extra powdered sugar in the container, so you can shake and re-coat as needed. Finally, transfer the container to the freezer for at least another hour to let them firm up completely. Then they’re ready to enjoy!
My Top Tips for Success
- I always use good quality white chocolate for truffles. It really makes a difference in the final taste and texture!
- Trust me on this one: don’t skip zesting the orange. That fresh zest is crucial for the authentic creamsicle flavor.
- In my experience, chilling the mixture thoroughly is key. If it’s too soft, the truffles will be messy to roll.
- When rolling, work quickly! Your hands will warm the mixture, so if it gets too sticky, pop it back in the freezer for a few minutes.
- I like to have damp paper towels nearby for easy cleanup while rolling truffles – it can get a little messy!
Common Mistakes to Avoid
- Overcooking the butter and zest: Boiling for too long can burn the butter and make the zest bitter. Cook just for 1 minute after it bubbles.
- Using liquid food coloring: Liquid food coloring can seize chocolate. Always use oil-based food coloring if you want to add color.
- Not chilling long enough: If the mixture isn’t firm enough, it will be impossible to roll into balls. Give it the full hour (or more!) in the freezer.
- Not pressing the zest: Don’t just discard the zest in the strainer; press it with a spatula to extract those flavorful oils.
How to Store Orange Creamsicle Truffles
- Refrigerator: Up to 1 week in an airtight container.
- Freezer: Up to 3 months in an airtight container. Thaw slightly before serving for best texture.
Frequently Asked Questions
Can I use chocolate chips instead of chopped white chocolate?
Yes, you can! Just make sure they are good quality white chocolate chips. Chopped bar chocolate often melts a bit smoother, but chips will work.
Why are my truffles sticky when I try to roll them?
This usually means your mixture isn’t cold enough. Pop it back into the freezer for another 15-30 minutes until it’s firm enough to handle without sticking.
Do I have to use orange extract?
While the orange zest provides great flavor, the extract really boosts that classic creamsicle taste. It’s highly recommended for the best results.
Can I make these ahead of time?
Absolutely! These truffles are perfect for making ahead. They store well in the refrigerator for a week or in the freezer for up to three months.
I hope these Orange Creamsicle Truffles bring a little bit of sunshine and joy to your day! They’re such a delightful treat and surprisingly simple to whip up. If you make them, please let me know how they turn out – I’d absolutely love to hear from you!
PrintOrange Creamsicle Truffles
Indulge in these easy, no-bake truffles bursting with bright orange zest and creamy white chocolate, reminiscent of a classic creamsicle.
- Prep Time: 20
- Cook Time: 5
- Total Time: 145
- Yield: about 20 truffles
- Category: Dessert
- Method: No-Bake
- Cuisine: American
- Diet: Vegetarian
Ingredients
- 1 cup chopped white chocolate
- ¼ cup unsalted butter
- 2 tablespoons orange zest
- 3 tablespoons heavy whipping cream
- ½ teaspoon orange extract
- oil-based orange food coloring, optional
- ½ cup powdered sugar, divided
Instructions
- Place chopped white chocolate in a small, wide container with a sealable lid. Have a strainer and a spatula nearby.
- In a small saucepan, combine unsalted butter and orange zest.
- Place the saucepan over medium heat.
- Bring the mixture to a boil.
- Once boiling, let it cook for 1 minute, whisking constantly.
- While continuing to whisk, pour in heavy whipping cream.
- Continue to cook and whisk for another 1-2 minutes or until bubbles begin to form along the edges.
- Remove the saucepan from heat.
- Hold the strainer over the container with white chocolate.
- Pour the hot orange butter mixture through the strainer into the white chocolate.
- Use a spatula to press the orange zest into the mesh of the strainer, extracting as much oil and flavor as possible.
- Discard the contents in the strainer.
- Let the mixture sit for one minute.
- Add orange extract to the mixture.
- Add oil-based orange food coloring, if using.
- Whisk the mixture until most of the chocolate is melted; a few solid pieces remaining is okay.
- Seal the container.
- Chill the mixture in the freezer for 1 hour or until it is firm enough to work with.
- When ready to roll, add 1/4 cup powdered sugar to a new sealable container.
- Add another 1/4 cup powdered sugar to a small bowl.
- Remove the truffle mixture from the freezer.
- Use a spoon or cookie scoop to scrape out about 1 tablespoon of mixture.
- Roll the mixture between your hands to form a ball.
- Drop the formed ball into the small bowl with powdered sugar.
- Toss the truffle to coat it completely.
- Place the coated truffle in the prepared storage container.
- Repeat this rolling, coating, and placing step until all the mixture is used.
- When all truffles are formed, seal the storage container.
- Gently shake the container to cover the truffles with the remaining powdered sugar.
- Transfer the storage container to the freezer.
- Allow truffles to chill for 1 hour or until firm.
- Serve as desired.
Notes
Use good quality white chocolate for the best flavor and texture.
Ensure the truffle mixture is very cold before rolling to prevent stickiness.
Work quickly when rolling, or pop the mixture back into the freezer if it gets too soft.
Always use oil-based food coloring when working with chocolate to avoid seizing.