There’s just something magical about a treat that’s both chewy and crunchy, isn’t there? This Marshmallow Crunch Traybake has been a go-to in my kitchen for years. It’s one of those recipes that brings back warm memories of cozy afternoons and happy faces. It’s so simple to make, yet it feels like such a special indulgence, and I just know you’re going to adore it!
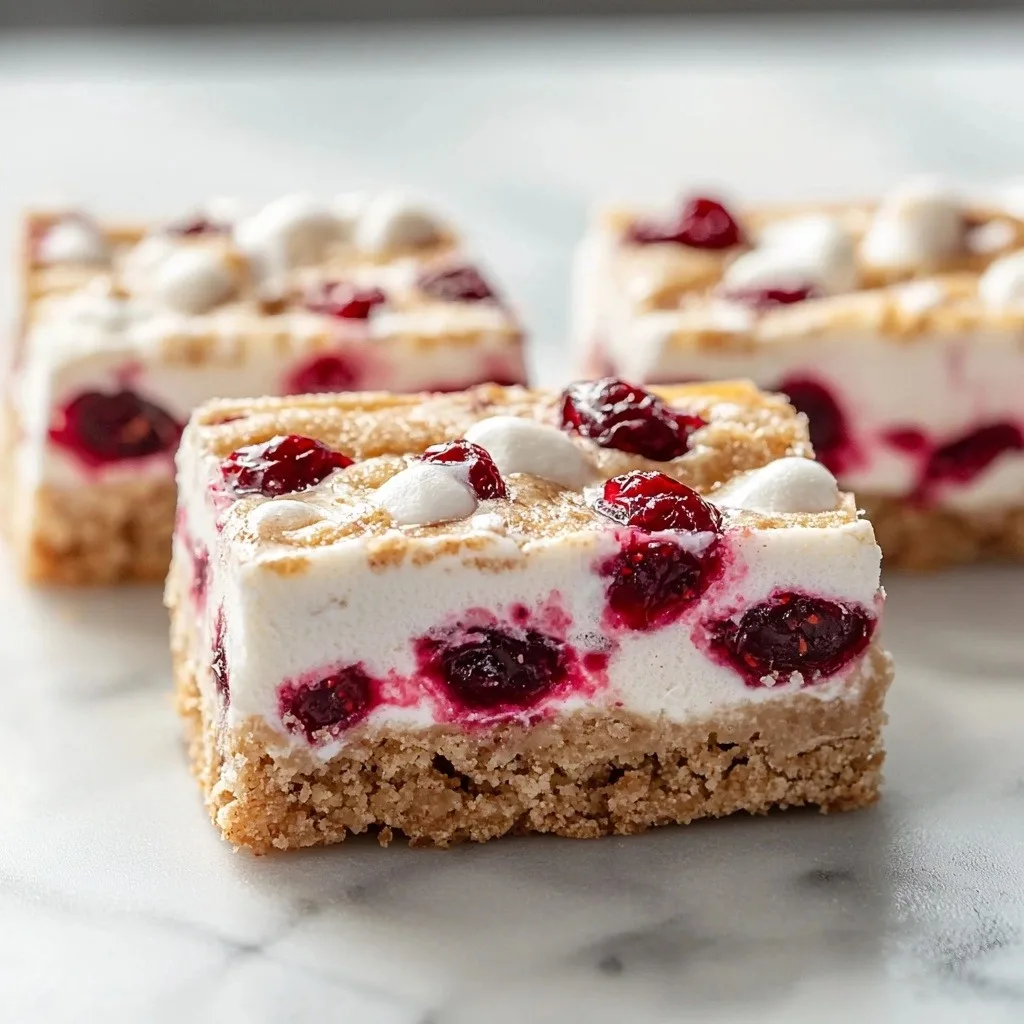
Why You’ll Love This Marshmallow Crunch Traybake
- It’s incredibly easy to make, no baking required!
- The combination of crunchy biscuit base and gooey marshmallow topping is pure bliss.
- It’s perfect for parties, potlucks, or just a sweet treat any day of the week.
- You can easily customize it with your favorite mix-ins for endless variations.
Ingredients You’ll Need
- Digestive biscuits: These are a classic British biscuit that give a wonderful, slightly crumbly texture to the base. If you can’t find them, Graham Crackers are a perfect substitute and will work beautifully.
- Glacé cherries: Also known as candied cherries, these add a lovely pop of color and a sweet, slightly chewy texture. Feel free to swap them out for other dried fruits if you prefer.
- Golden syrup: This is a thick, amber-colored syrup with a rich, buttery flavor. If you don’t have it, honey is a great alternative and will give a similar sweetness and binding quality to the base.
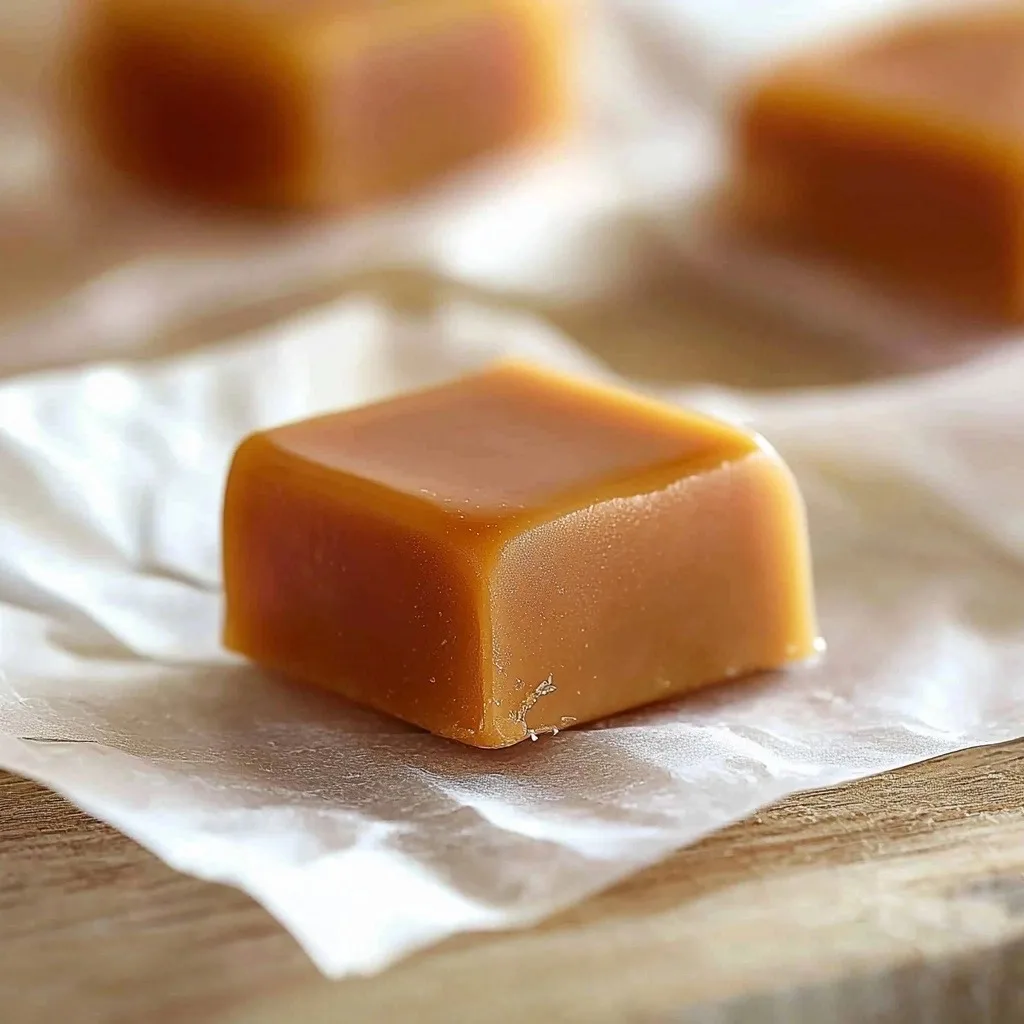
- Soft toffees or caramels: These melt down to create a wonderfully sticky and sweet binder for the marshmallows. Make sure they are soft and not hard candies for the best results.
How to Make Marshmallow Crunch Traybake Step by Step
First things first, let’s get our tin ready. Line a 20cm/8 inch square tin with baking parchment. This makes it super easy to lift out your traybake later, so don’t skip this step! Now, for the base, grab a saucepan and add your butter, golden syrup (or honey!), and brown sugar. Heat this gently over a low flame. You just want the butter to melt and everything to come together smoothly – no need for a rolling boil here.
Once that’s melted, take it off the heat. This is where the magic happens! Stir in your crushed digestive biscuits, dessicated coconut, and those lovely quartered glacé cherries. Give it a good mix until everything is coated and combined. Then, press this mixture firmly into your prepared tin. Use the back of a spoon or your hands to get an even, compact layer. Set it aside while we make the topping.
For the topping, you’ll need a double boiler. If you don’t have one, just place a heatproof bowl over a saucepan of simmering water – make sure the bowl isn’t touching the water! Put your soft toffees and butter into the bowl and let them melt gently, stirring occasionally until smooth. Once melted, take it off the heat and quickly mix in your quartered marshmallows. Spread this gooey marshmallow mixture evenly over your biscuit base. Now, the hardest part: pop it into the fridge for a couple of hours to set up nicely. Trust me, it’s worth the wait!
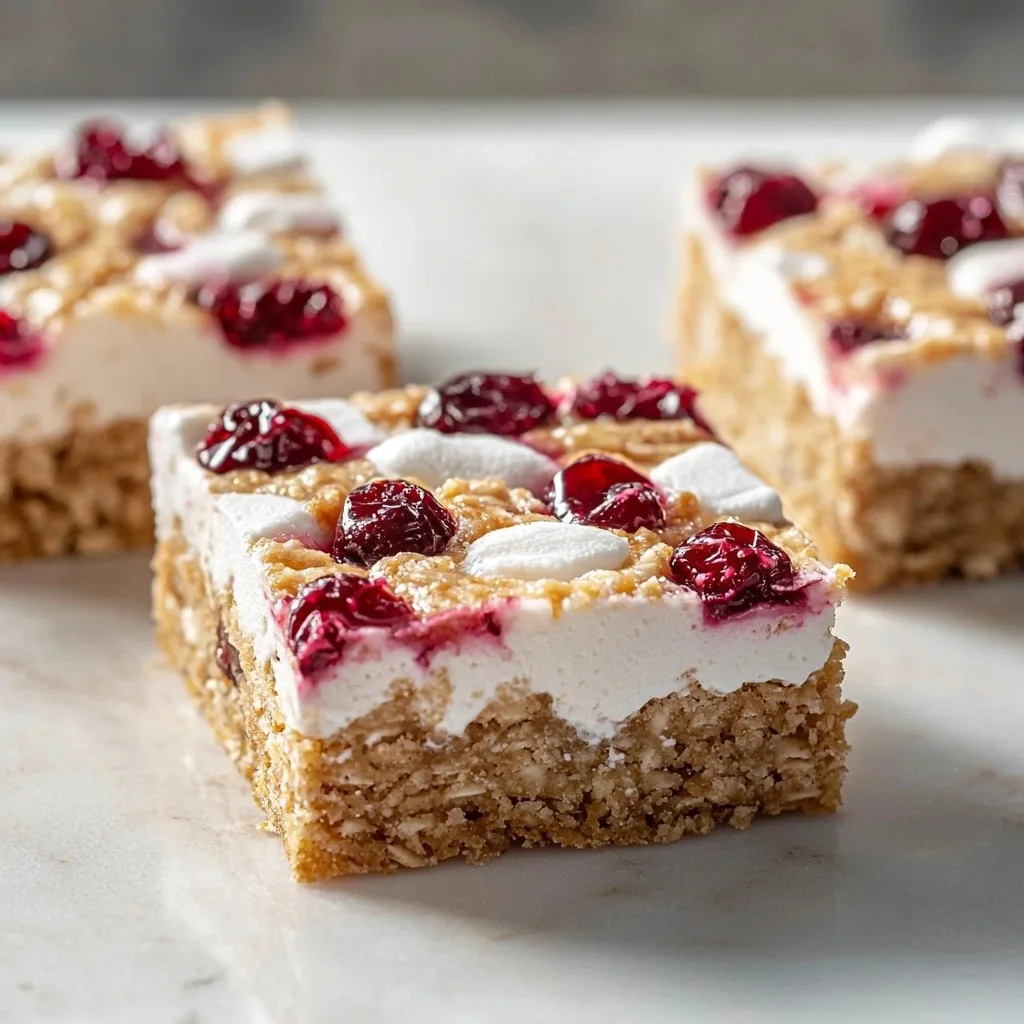
My Top Tips for Success
- I always crush my biscuits in a food processor for an even crumb, but a Ziploc bag and a rolling pin work perfectly too!
- In my experience, using good quality marshmallows makes a difference for that perfect chewy topping.
- Trust me on this one: don’t rush the setting time in the fridge. It needs those full two hours to firm up properly.
- When pressing the base into the tin, really compact it. This prevents it from crumbling when you cut it.
- For easy cutting, run a sharp knife under hot water and wipe it dry between slices.
Common Mistakes to Avoid
- Not lining the tin: This makes it incredibly difficult to remove the traybake without it sticking or breaking. Always use baking parchment!
- Overheating the base mixture: If you boil the butter and sugar mixture too vigorously, it can become too hard and crumbly when set. Keep it gentle.
- Not crushing biscuits finely enough: Large chunks of biscuit can make the base difficult to press evenly and can lead to a crumbly texture. Ensure a fine, consistent crumb.
- Not melting toffees gently: High heat can cause the toffees to seize or burn. Use a double boiler and gentle heat for a smooth, pourable topping.
- Cutting before fully set: If you try to cut the traybake before it’s completely chilled and firm, the topping will be too sticky and the base might crumble. Patience is key!
How to Store Marshmallow Crunch Traybake
- Countertop: 2-3 days, in an airtight container at room temperature.
- Refrigerator: Up to 1 week, in an airtight container. This helps keep the topping firm.
- Freezer: Up to 1 month, wrapped tightly in plastic wrap and then foil, in an airtight container. Thaw in the refrigerator before serving.
Frequently Asked Questions
Can I use different biscuits for the base?
Yes, absolutely! While Digestive biscuits or Graham Crackers are traditional, you can experiment with other plain crunchy biscuits like rich tea biscuits or even shortbread. Just make sure they create a good crumb.
What if I don’t have a double boiler?
No problem! You can create a makeshift double boiler by placing a heatproof bowl over a saucepan of simmering water. Just ensure the bottom of the bowl doesn’t touch the water, and the steam will gently melt your ingredients.
Can I add chocolate to this recipe?
Yes, that would be delicious! You could drizzle melted chocolate over the set Marshmallow Crunch Traybake, or even fold some chocolate chips into the base mixture before pressing it into the tin.
How do I quarter marshmallows easily?
Using kitchen shears or scissors is often easier than a knife for cutting sticky marshmallows. You can also lightly dust your scissors with a little cornstarch or powdered sugar to prevent sticking.
Is this recipe suitable for freezing?
Yes, it freezes well! Wrap individual squares tightly in plastic wrap, then foil, and store in an airtight container for up to a month. Thaw in the refrigerator before enjoying.
I really hope you give this Marshmallow Crunch Traybake a try! It’s such a delightful treat that always brings smiles. If you make it, I’d absolutely love to hear how it turned out for you!
PrintMarshmallow Crunch Traybake
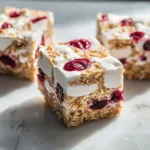
A delightful no-bake treat featuring a crunchy biscuit base topped with a gooey, sweet marshmallow and caramel layer.
- Prep Time: 20
- Cook Time: 10
- Total Time: 150
- Yield: 16 squares
- Category: Dessert
- Method: No-Bake
- Cuisine: British
Ingredients
- 5 oz or 140g butter
- 2 oz or 55g brown sugar
- 10 oz or 280g Digestive biscuits, crushed (Graham Crackers)
- 2 oz or 55g dessicated coconut
- 2 oz or 55g glacé cherries, quartered (candied cherries)
- 1 tbsp golden syrup or honey
- 2 oz or 55g soft toffees or caramels
- 2 oz or 55g butter
- 8 oz or 225g marshmallows, quartered
Instructions
- Line a 20cm/8 inch square tin with baking parchment.
- Combine 5 oz (140g) butter, 1 tbsp golden syrup (or honey), and 2 oz (55g) brown sugar in a saucepan.
- Heat the saucepan over a gentle heat until the butter has melted.
- Remove the saucepan from the heat.
- Stir in 10 oz (280g) crushed Digestive biscuits (Graham Crackers), 2 oz (55g) dessicated coconut, and 2 oz (55g) quartered glacé cherries.
- Press the mixture firmly and evenly into the prepared tin.
- Set the tin aside.
- Place 2 oz (55g) soft toffees (or caramels) and 2 oz (55g) butter in a heatproof bowl set over a saucepan of simmering water (double boiler).
- Heat gently until the toffees and butter are melted and smooth.
- Remove the bowl from the heat.
- Mix in 8 oz (225g) quartered marshmallows.
- Spread the marshmallow mixture evenly over the biscuit base in the tin.
- Place the tin into the refrigerator for at least 2 hours to set.
- Cut the set traybake into squares.
- Serve and enjoy!
Notes
Ensure biscuits are crushed to a fine, even crumb for a stable base.
For easy cutting, warm your knife slightly between slices.
Don’t rush the chilling time; it’s essential for the traybake to set properly.
Use good quality, soft toffees or caramels for the best topping texture.