There’s nothing quite like the smell of freshly baked cookies filling your home. For me, it brings back memories of cozy afternoons and happy moments. I’ve always been on a quest for that perfect bakery-style cookie – you know, the one that’s soft and chewy on the inside, with slightly crisp edges, and absolutely loaded with chocolate. After many attempts, I finally landed on this recipe for Thick Chocolate Chip Cookies, and trust me, it’s a keeper! My family begs for these, and once you try them, I think yours will too.
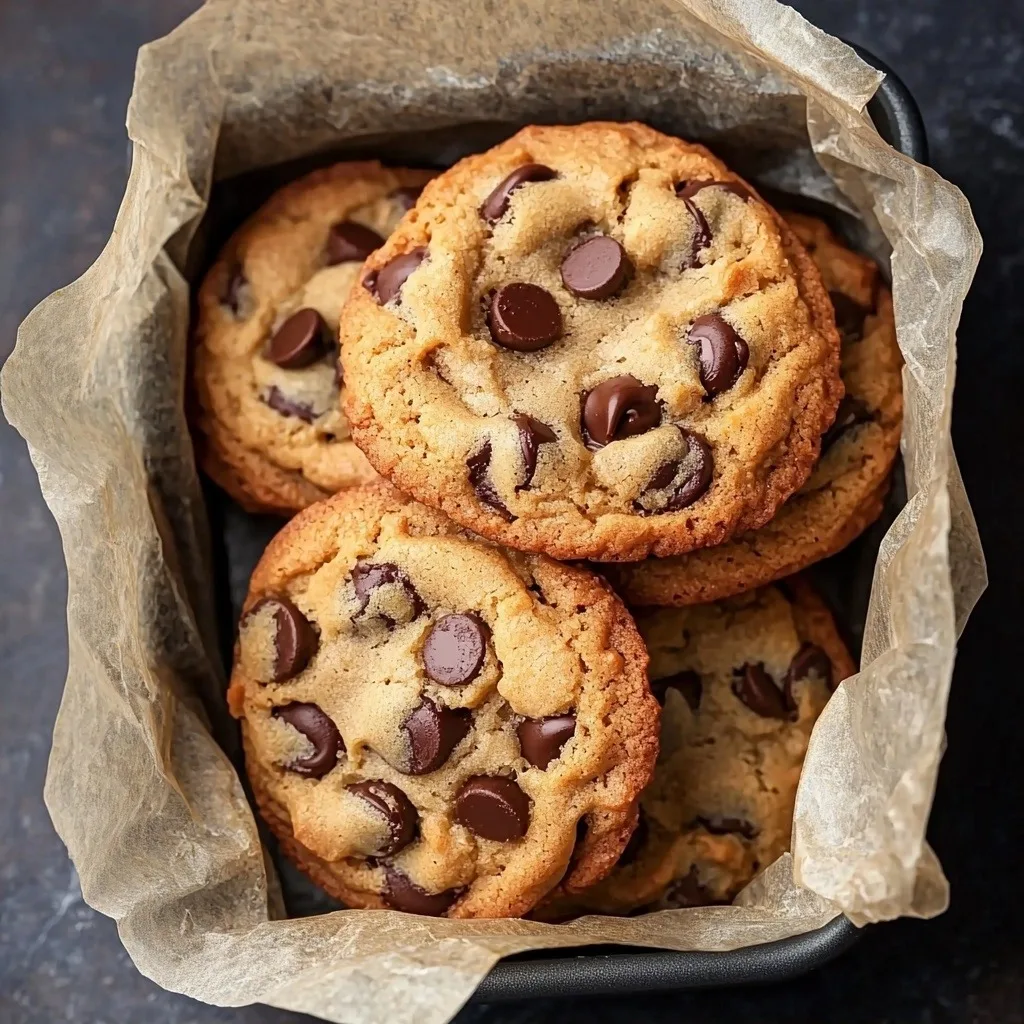
Why You’ll Love This Thick Chocolate Chip Cookies
- They are wonderfully thick and chewy, just like from a fancy bakery!
- The recipe is surprisingly easy, even for beginners.
- You get that perfect balance of sweet and salty with rich chocolate.
- They’re perfect for sharing, gifting, or just treating yourself.
Ingredients You’ll Need
- Cold unsalted butter: Starting with cold butter and letting it soften just slightly before mixing is key for the right texture. It helps prevent over-creaming and keeps your cookies thick.
- Light brown sugar & White caster sugar: The combination gives you both chewiness from the brown sugar and a delicate crisp from the white sugar.
- Large Eggs: Make sure they are at room temperature! This helps them emulsify better with the butter and sugar, creating a smoother dough.
- Vanilla extract: Don’t skip this! It enhances all the other flavors in the cookie.
- Self-raising flour & Plain flour: Using both flours gives these cookies their unique structure and chewiness. Self-raising flour already has leavening agents, and plain flour balances it out.
- Salt: A little salt is crucial for balancing the sweetness and making the chocolate flavor pop.
- Baking powder: This is a leavening agent that helps your cookies rise and become beautifully thick.
- Milk/white/dark chocolate chips: You can use any combination you like! I love a mix for different chocolatey surprises in every bite.
How to Make Thick Chocolate Chip Cookies Step by Step
First things first, let’s get that cookie dough ready! Take your cold butter and chop it into chunks. Pop it into a large mixing bowl and beat it for just about a minute until it’s a bit softer but not fully creamed. This is where the magic of a thick cookie begins!
Next, add both the light brown sugar and white caster sugar to your butter. Beat them together until they are just combined. You really don’t want to over-mix here, so stop as soon as they come together. Then, mix in your room temperature eggs and that lovely vanilla extract. Don’t worry if the mixture looks a little odd at this stage; it will all come together beautifully.
In a separate bowl, whisk together your self-raising flour, plain flour, salt, and baking powder. Now, gently fold this dry mixture into your butter mixture until you have a thick, glorious cookie dough. Finally, add all those wonderful chocolate chips and use your hands to mix them in. This ensures they are evenly distributed throughout your dough – every bite will be chocolatey!
My Top Tips for Success
- I always let my eggs come to room temperature; it makes a huge difference in the dough’s texture.
- In my experience, freezing the dough for at least 90 minutes is crucial for that amazing thick, chewy result.
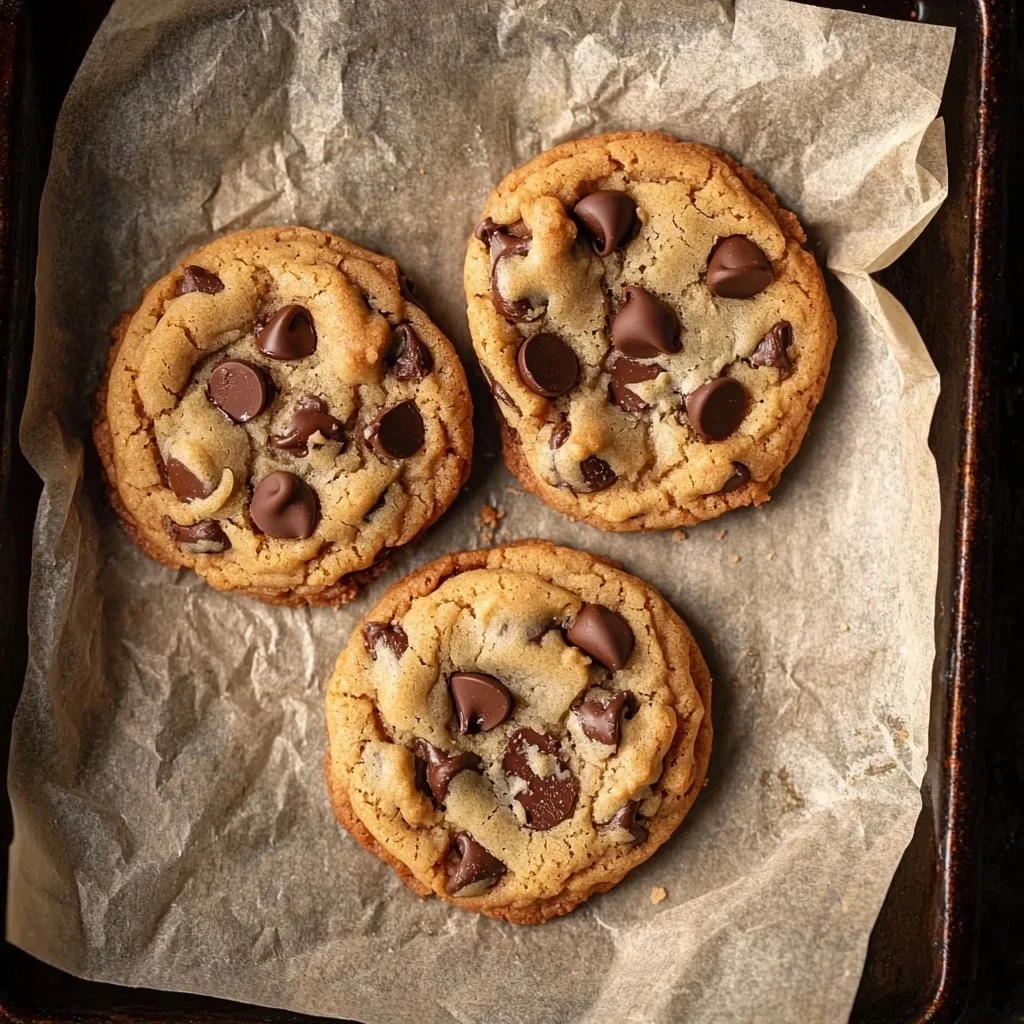
- Trust me on this one: preheating your baking tray in the oven helps create those perfectly crisp edges and gooey centers.
- Don’t overcrowd your baking sheet; these cookies spread a bit, and you want them to bake evenly.
- I always underbake my cookies just a tiny bit; they’ll continue to cook on the hot tray as they cool, leading to a super soft center.
Common Mistakes to Avoid
- Over-mixing the butter and sugar: This can incorporate too much air, leading to flatter cookies. Mix until just combined.
- Not chilling the dough long enough: Chilling is essential! It prevents the cookies from spreading too much and helps them stay thick.
- Baking too many cookies at once: These are big cookies! Give them space on the baking sheet so they can bake properly without running into each other.
- Baking at too high a temperature: This can lead to burnt edges and raw centers. Stick to the recommended oven temperature.
- Removing cookies from the tray too soon: They are fragile when hot. Let them cool on the baking tray for a few minutes to set up before moving them.
How to Store Thick Chocolate Chip Cookies
- Room Temperature: Store in an airtight container for up to 3-4 days.
- Freezer (Baked): Once completely cooled, place in a freezer-safe bag or container for up to 3 months. Thaw at room temperature or warm briefly in the microwave.
- Freezer (Dough): Freeze the shaped cookie dough balls on a tray until solid, then transfer to a freezer-safe bag for up to 2 months. Bake from frozen, adding an extra 2-3 minutes to the baking time.
Frequently Asked Questions
Can I use all plain flour instead of self-raising?
No, I don’t recommend it. The combination of self-raising and plain flour is specific to this recipe and helps achieve the desired thick, chewy texture. Self-raising flour contains leavening agents that are crucial here.
Why are my cookies spreading too much?
This often happens if your butter was too soft initially, you over-mixed the dough, or you didn’t chill the dough for long enough. Make sure to follow the chilling instructions carefully.
Can I make these cookies smaller?
You can, but the baking time will need to be adjusted. If you make them smaller, they won’t be as thick. This recipe is designed for those wonderfully chunky, bakery-style cookies.
Can I use different types of chocolate?
Absolutely! Feel free to use your favorite chocolate chips, chunks, or even a chopped chocolate bar. A mix of milk, dark, and white chocolate is always delicious.
How do I know when the cookies are done?
The cookies are ready when the edges are golden, but the center still looks slightly underbaked and soft. They will continue to set as they cool on the baking sheet.
I hope these Thick Chocolate Chip Cookies bring as much joy to your kitchen as they do to mine. They really are the ultimate comfort food! If you make them, I’d love to hear how they turned out and what your favorite chocolate chip combination was.
PrintThick Chocolate Chip Cookies

These bakery-style chocolate chip cookies are wonderfully thick, chewy, and loaded with chocolate, perfect for any occasion.
- Prep Time: 20
- Cook Time: 15
- Total Time: 125
- Yield: 9-10 cookies
- Category: Dessert
- Method: Baking
- Cuisine: American
- Diet: Vegetarian
Ingredients
- 200 g Cold unsalted butter
- 180 g Light brown sugar
- 80 g White caster sugar
- 2 large Eggs at room temperature
- 1 tsp Vanilla extract
- 250 g Self-raising flour
- 150 g Plain flour
- 1 tsp Salt
- 1 tsp Baking powder
- 300 g Milk/white/dark chocolate chips – or a mixture of all three
Instructions
- Chop the cold butter into chunks.
- Place the butter chunks in a large mixing bowl.
- Beat the butter using an electric mixer or wooden spoon for 1 minute until slightly softer and broken up, but not creamed.
- Add the light brown sugar and white caster sugar to the butter.
- Beat the sugars and butter together until just combined, avoiding over-mixing.
- Mix in both of the room temperature eggs.
- Add the vanilla extract and mix until just combined.
- In a separate bowl, stir together the self-raising flour, plain flour, salt, and baking powder until well mixed.
- Tip the dry flour mixture into the wet butter mixture.
- Fold everything together until a thick cookie dough forms.
- Add all of the chocolate chips to the dough.
- Use your hands to mix the chocolate chips into the dough until evenly distributed.
- Line a baking tray or tin that fits inside your freezer with greaseproof paper.
- Weigh out 120g of cookie dough for each cookie.
- Use your hands to roughly shape each 120g portion into a ball.
- Place the shaped cookie dough balls on the lined baking tray.
- Repeat until all the cookie dough is used, aiming for 9-10 cookies.
- Ensure the cookie dough balls are not touching on the tray.
- Cover the baking tray with clingfilm.
- Freeze the cookie dough balls for at least 90 minutes, or up to 48 hours for best results.
- Preheat your oven to 180°C (fan) whilst the cookies are freezing.
- Five minutes before the freezing time is finished, line a large baking tray with greaseproof paper.
- Place the lined baking tray in the preheated oven for 5 minutes to heat up.
- Remove the hot baking tray from the oven.
- Place 3 to 4 of the frozen cookie dough balls onto the heated tray, leaving plenty of room between them.
- Bake the cookies on the middle shelf of your oven for 15 minutes.
- Bake until the outside edges are golden, but the top and middle are only lightly browned and still look soft.
- Remove the cookies from the oven.
- Leave the cookies to cool on the baking tray for 5 minutes, or until firm enough to handle without falling apart.
- Enjoy your cookies straightaway!
Notes
Ensure eggs are at room temperature for better dough consistency.
Do not over-mix the butter and sugar to keep cookies thick.
Freezing the dough for at least 90 minutes is crucial for shape.
Preheating your baking tray helps achieve crisp edges and gooey centers.