There’s just something about fall that makes me want to bake all things apple and cinnamon. The crisp air, the cozy sweaters – it all just screams comfort food! And while I love a good apple pie, sometimes I crave something a little extra special, something with that creamy indulgence that just melts in your mouth. That’s exactly how this Apple Crisp Cheesecake came to be, and trust me, it’s become a new family favorite!
Why You’ll Love This Apple Crisp Cheesecake
- It’s the perfect blend of creamy cheesecake and a crunchy apple crisp.
- The warm cinnamon apples nestled inside are just divine.
- That crisp topping adds such a wonderful texture contrast.
- It’s a showstopper dessert that’s surprisingly easy to make!
Ingredients You’ll Need
- Graham Cracker Crumbs: These form the base of our delicious crust. You can buy them pre-crushed or crush your own graham crackers.
- Brown Sugar: We use this in a few places! It adds a lovely caramel-like sweetness to the crust, apples, and crisp topping.
- Unsalted Butter: Melting it helps bind the crust and the crisp topping together perfectly.
- Apples: Granny Smith or Gala are my go-to for their balance of sweetness and tartness, and they hold their shape well when baked.
- All-Purpose Flour: Essential for the crisp topping, giving it that lovely crumble.
- Quick Oats: These add a fantastic texture to our crisp topping – don’t skip them!
- Full-Fat Cream Cheese: Make sure it’s at room temperature! This is key for a super smooth, lump-free cheesecake batter.
- Granulated Sugar: For that classic cheesecake sweetness.
- Cinnamon: We’re using this spice generously throughout the recipe to really highlight those cozy fall flavors.
- Cornstarch: This acts as a thickener and helps prevent cracks in our cheesecake. If you don’t have cornstarch, all-purpose flour works too!
- Vanilla Extract: Just a touch enhances all those wonderful flavors.
- Sour Cream: Also needs to be at room temperature! It adds a lovely tang and makes the cheesecake extra creamy.
- Large Eggs: Room temperature eggs incorporate better into the batter, leading to a smoother texture.
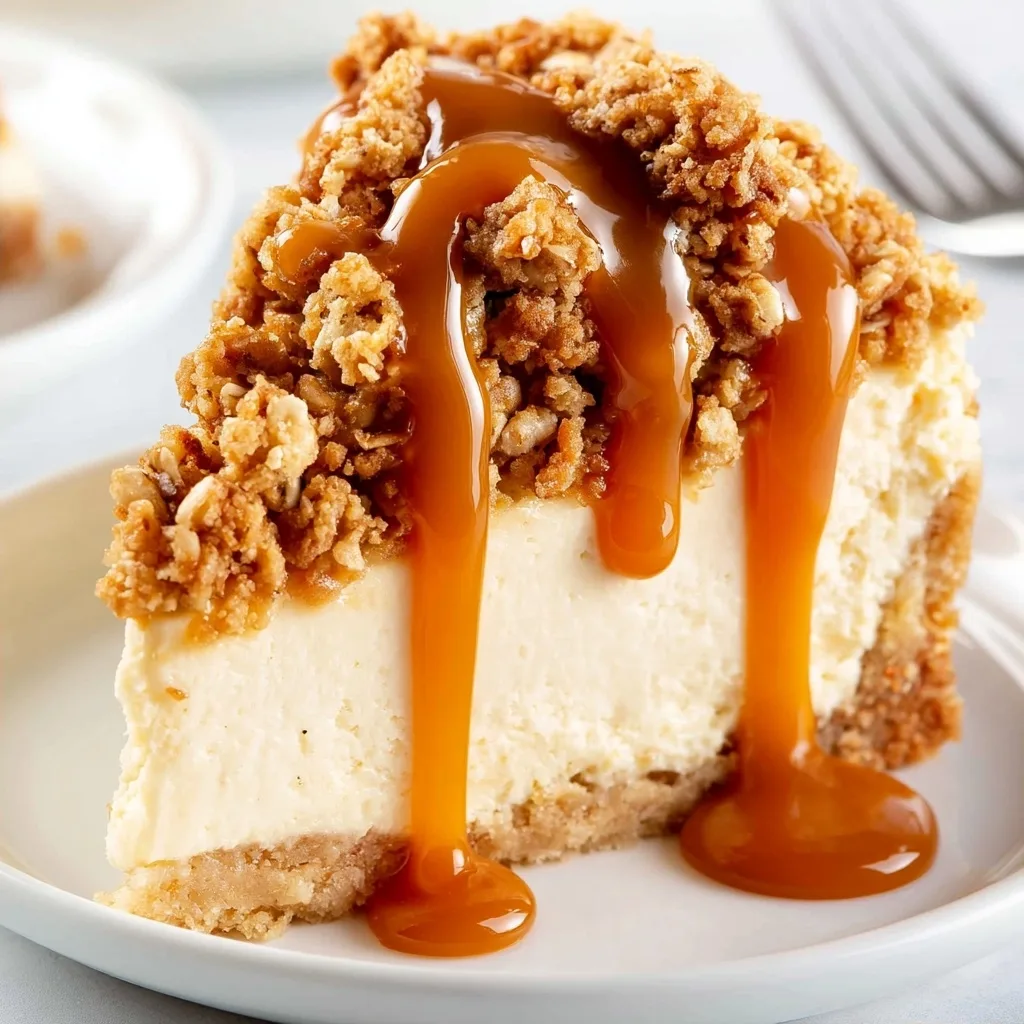
- Salted Caramel Sauce: Totally optional, but a drizzle on top when serving takes this cheesecake to the next level!
How to Make Apple Crisp Cheesecake Step by Step
First things first, preheat your oven to 350°F (180°C). Then, you’ll want to get your springform pan ready for its water bath. This is super important for a perfectly baked, crack-free cheesecake! Wrap the outside of your 9-inch springform pan really well with tin foil, at least 3-4 times, making sure all the seams are covered. This keeps the water out. Give it a light spray with non-stick cooking spray too.
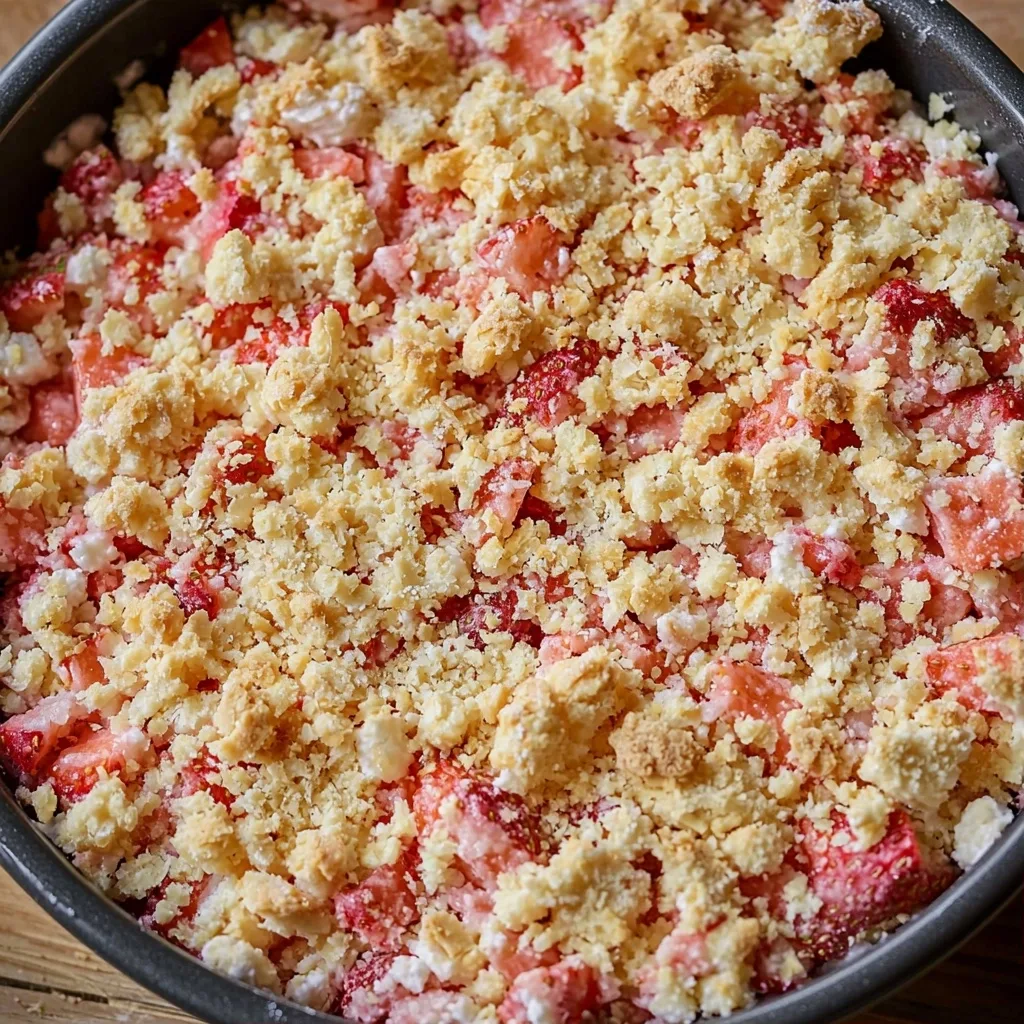
Now, let’s make that amazing crust! In a bowl, mix your graham cracker crumbs, brown sugar, and cinnamon. Pour in the melted butter and stir until everything is combined. Press this mixture firmly into the bottom and about halfway up the sides of your prepared pan. Pop it into the preheated oven for 8-10 minutes. While that’s baking, peel, core, and thinly slice your apples. Toss them with brown sugar and cinnamon and set them aside in the fridge. For the crisp topping, just stir together flour, brown sugar, and cinnamon, then mix in the oats. Finally, stir in the melted butter until it’s crumbly – it should feel like damp sand.
Time for the cheesecake batter! In a really big bowl, beat the room temperature cream cheese and both sugars until it’s super smooth and creamy. Don’t forget to scrape down the sides of the bowl! Then, mix in the cornstarch and cinnamon, followed by the sour cream and vanilla. Again, scrape down the bowl to make sure there are no lumps. Finally, add your eggs one at a time, mixing just until they’re combined. Be careful not to overmix here – that’s a key to a perfect cheesecake!
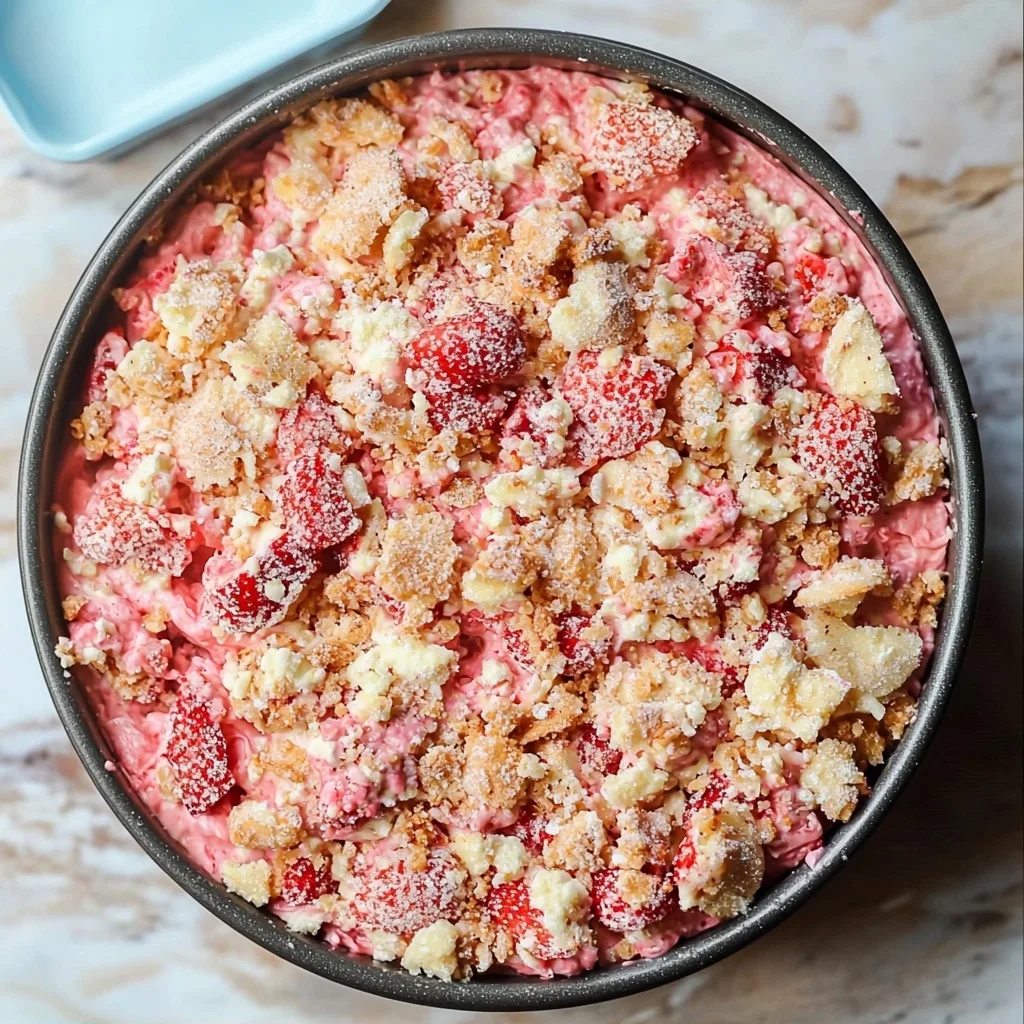
To assemble, pour the cheesecake filling over your baked crust. Smooth out the top. Arrange your thinly sliced apples evenly over the cheesecake, but leave any liquid from the apple bowl behind. Sprinkle that delicious crisp topping all over the apples. It might look like a lot, but it bakes down beautifully! Place your foil-wrapped cheesecake pan into a larger roasting pan. Carefully pour boiling water into the roasting pan until it’s about an inch deep. Bake for 50-60 minutes. When it’s done, it should have a slight wobble in the center. Let it cool in the water bath until it reaches room temperature, then remove, cover, and chill in the fridge for at least 6 hours, or even better, overnight!
My Top Tips for Success
- I always make sure my cream cheese, sour cream, and eggs are at room temperature. It really makes a difference for a smooth batter!
- Don’t overmix the cheesecake batter, especially once the eggs are added. Overmixing can incorporate too much air, leading to cracks.
- Trust me on this one: the water bath is essential for a creamy, crack-free cheesecake. Don’t skip it!
- Wrap your springform pan extra, extra well with foil to prevent any water from seeping in.
- Letting the cheesecake cool slowly in the oven and then chilling it overnight helps it set perfectly. Patience is key!
- For the best apple texture, aim for very thin apple slices.
Common Mistakes to Avoid
- Using cold ingredients: This leads to lumpy batter. Always bring cream cheese, sour cream, and eggs to room temperature.
- Overmixing the batter: Especially after adding eggs. This incorporates too much air, which can cause the cheesecake to puff up and then crack as it cools. Mix just until combined.
- Not using a water bath: A water bath provides even, gentle heat, which prevents the cheesecake from cooking too quickly and cracking.
- Opening the oven door too often: This lets out heat and can cause temperature fluctuations, leading to cracks. Try to resist peeking!
- Not chilling long enough: The cheesecake needs at least 6 hours (preferably overnight) in the fridge to fully set and firm up. If you cut it too soon, it might be too soft.
How to Store Apple Crisp Cheesecake
- Refrigerator: Cover tightly with plastic wrap and store for up to 4-5 days.
- Freezer: Wrap individual slices or the whole cheesecake (after it’s fully chilled) tightly in plastic wrap, then in foil. Store for up to 1 month. Thaw overnight in the refrigerator before serving.
Frequently Asked Questions
Can I use a different type of apple?
Yes, you can! Granny Smith or Gala are recommended, but you could try Honeycrisp or Fuji. Just pick an apple that holds its shape well when baked.
Why do I need a water bath?
A water bath creates a moist, humid environment in the oven, which helps the cheesecake bake evenly and prevents it from cracking on top. It’s a game-changer for cheesecake texture!
My cheesecake cracked, what went wrong?
Cracks are usually caused by overmixing the batter, baking at too high a temperature, or cooling too quickly. Make sure all ingredients are room temp, mix gently, and use a water bath.
Can I make this cheesecake ahead of time?
Absolutely! Cheesecake is a perfect make-ahead dessert. It needs to chill for at least 6 hours, so making it the day before you plan to serve it is ideal.
Do I have to use a springform pan?
A springform pan is definitely recommended for easy removal. While you could technically bake it in a regular round pan, getting it out cleanly would be much more challenging.
I hope you give this Apple Crisp Cheesecake a try! It’s truly a special dessert that brings together the best of fall flavors with that classic, creamy indulgence. If you bake it, I’d absolutely love to hear how it turns out in your kitchen!
PrintApple Crisp Cheesecake

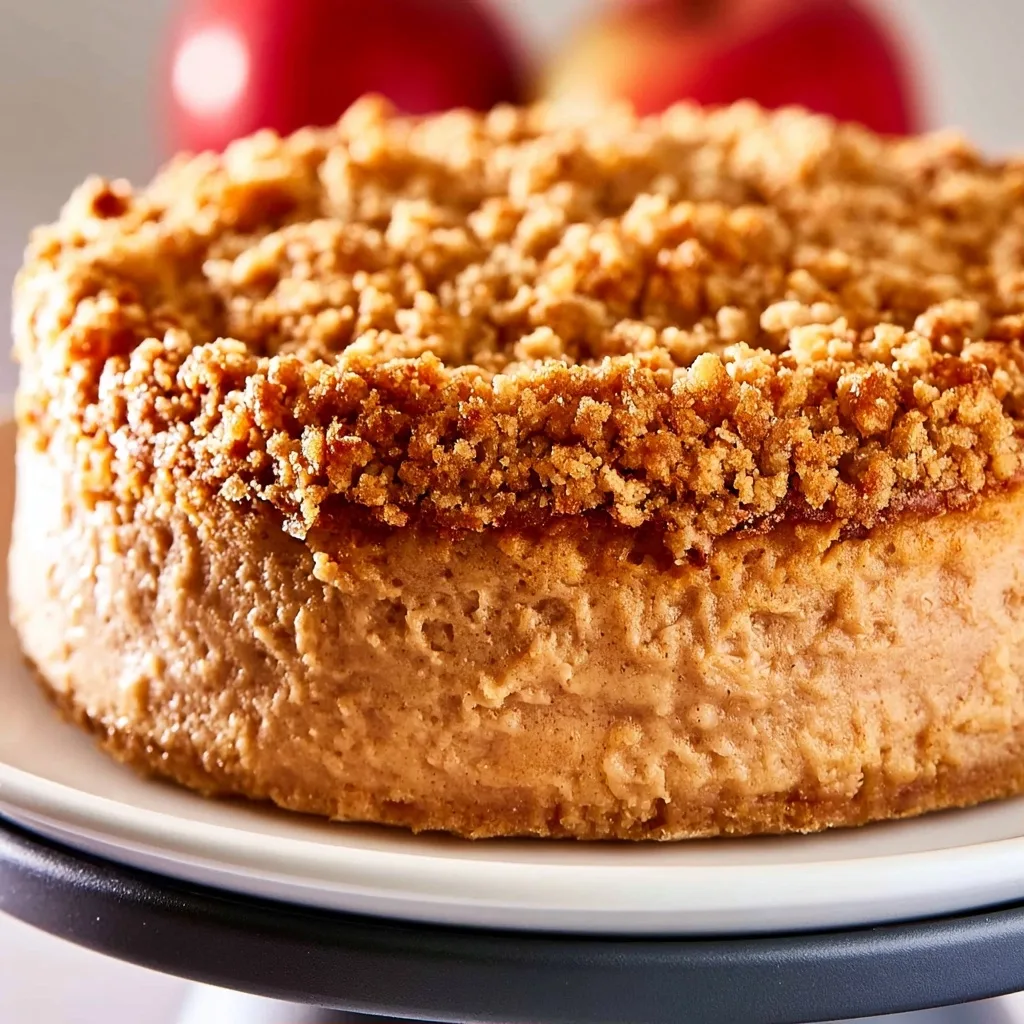
A delightful combination of creamy cheesecake, tender cinnamon apples, and a crunchy oat crisp topping, perfect for fall celebrations.
- Prep Time: 45
- Cook Time: 60
- Total Time: 485
- Yield: 12 servings
- Category: Dessert
- Method: Baking
- Cuisine: American
- Diet: Vegetarian
Ingredients
- 3 cups graham crumbs
- 3 tablespoons brown sugar
- 1/2 teaspoon cinnamon
- 1/2 cup unsalted butter (112 grams), melted
- 2 large apples, I recommend Granny Smith or Gala
- 2 tablespoons brown sugar
- 1 1/2 teaspoons cinnamon
- 1/2 cup all-purpose flour (63 grams)
- 1/2 cup brown sugar (100 grams)
- 1 teaspoon cinnamon
- 1/2 cup quick oats
- 1/4 cup unsalted butter (56 grams) , melted
- 24 ounces full-fat cream cheese (680 grams), room temperature
- 3/4 cup granulated sugar (150 grams)
- 1/4 cup brown sugar (50 grams)
- 1/2 teaspoon cinnamon
- 1 tablespoon cornstarch, or 2 tablespoons all-purpose flour
- 1 teaspoon vanilla extract
- 1/2 cup sour cream (120 ml) , room temperature
- 3 large eggs, room temperature
- boiling water, for the water bath
- salted caramel sauce
Instructions
- Preheat the oven to 350°F (180°C or 160°C on a fan-forced oven).
- Wrap the outside of a 9-inch (23-cm) springform pan in tin foil at least 3-4 times, covering the bottom and sides thoroughly.
- Lightly grease the pan with non-stick cooking spray.
- Mix the graham crumbs, 3 tablespoons brown sugar, and 1/2 teaspoon cinnamon in a medium bowl.
- Stir in 1/2 cup melted unsalted butter until well combined.
- Press the mixture firmly into the bottom and about 1/2 way up the sides of the prepared pan.
- Bake the crust in the preheated oven for 8-10 minutes.
- Remove the crust from the oven and keep the oven turned on.
- Peel and core the 2 large apples.
- Slice the apples into very thin slices.
- Toss the apple slices with 2 tablespoons brown sugar and 1 1/2 teaspoons cinnamon.
- Place the seasoned apples in the fridge until needed.
- Stir together 1/2 cup all-purpose flour, 1/2 cup brown sugar, and 1 teaspoon cinnamon in a medium bowl until no lumps remain.
- Mix in 1/2 cup quick oats.
- Stir in 1/4 cup melted unsalted butter until the mixture resembles damp sand and forms clumps.
- Set the crisp topping aside until needed.
- In a very large bowl, beat the 24 ounces room temperature cream cheese, 3/4 cup granulated sugar, and 1/4 cup brown sugar until smooth and creamy.
- Turn off the mixer and scrape down the sides and bottom of the bowl as needed.
- Mix in 1 tablespoon cornstarch and 1/2 teaspoon cinnamon.
- Mix in 1/2 cup room temperature sour cream and 1 teaspoon vanilla extract.
- Scrape down the bowl again to ensure there are no cream cheese lumps.
- Mix in the 3 large room temperature eggs, one at a time.
- Stop mixing as soon as each egg is combined and no pieces of yolk or white are visible.
- With the pan still wrapped in foil, pour the cheesecake filling over the baked crust.
- Smooth the top of the cheesecake filling.
- Arrange the sliced apples in an even layer on top of the cheesecake filling, ensuring no juice/liquid from the apple bowl is added.
- Evenly sprinkle the oatmeal crumble mixture over the sliced apples.
- Place the foil-wrapped cheesecake pan inside a large roasting pan.
- Pour boiling water into the roasting pan until there is about 1 inch of water.
- Place the roasting pan in the oven.
- Bake the cheesecake for about 50-60 minutes.
- The cheesecake is done when there is a very slight wobble if gently nudged.
- Remove the cheesecake from the oven and cool it in the roasting pan until it reaches room temperature.
- Remove the cheesecake from the roasting pan.
- Cover the pan with tin foil.
- Place the cheesecake in the fridge to set for at least 6 hours or overnight.
- Serve chilled, optionally drizzled with salted caramel sauce.
Notes
Ensure all dairy and eggs are at room temperature for a smooth batter.
Do not overmix the cheesecake batter, especially after adding eggs, to prevent cracks.
The water bath is crucial for even baking and a creamy, crack-free cheesecake.
Chill the cheesecake overnight for the best texture and easy slicing.