Imagine the rich, creamy flavor of Reese’s, wrapped in a bite-sized truffle that melts in your mouth. Reese’s Truffles have taken the culinary world by storm, especially as we cozy up in the fall season, preparing for the holiday rush. The blend of peanut butter and chocolate in these truffles evokes the warmth of childhood memories and the comfort of a sweet indulgence. Whether you’re looking to impress guests at a party or simply treat yourself, these truffles are the ideal solution. They are easy to make, do not require baking, and are perfect for chocolate enthusiasts everywhere. Plus, they’re tailor-made to appear in Google Discover feeds, combining the nostalgia of familiar flavors with a contemporary twist.
Ingredients
To create these indulgent Reese’s Truffles, gather the following ingredients:
- 1 cup of smooth peanut butter: Creamy peanut butter provides the essential Reese’s flavor. For a less sweet alternative, try natural peanut butter.
- 2 cups of powdered sugar: This helps form a smooth truffle texture and balances the richness.
- 1/4 cup of unsweetened cocoa powder: Gives a rich chocolate flavor. Consider Dutch-process cocoa for a deeper taste.
- 1/2 teaspoon of vanilla extract: Enhances all the other flavors. Pure vanilla extract is recommended for the best result.
- 1 cup of semisweet chocolate chips: Provides the truffle’s chocolate coating. Dark chocolate chips can be used for a richer taste.
- 1 tablespoon of coconut oil: Helps thin the chocolate for smoother coating.
Ingredient science plays a crucial role here. The powdered sugar helps stabilize the peanut butter mixture, creating a malleable dough, while the coconut oil smooths the chocolate, ensuring an even coat around each truffle. To cater to dietary needs, you can substitute coconut oil with butter or use dairy-free chocolate chips for a vegan-friendly option.
Step-by-Step Instructions
Now, let’s dive into crafting these delectable truffles. The process is straightforward, making it perfect for bakers of all skill levels.
- Prepare the Peanut Butter Mixture: In a medium bowl, combine the peanut butter, powdered sugar, cocoa powder, and vanilla extract. Stir until a thick dough forms.
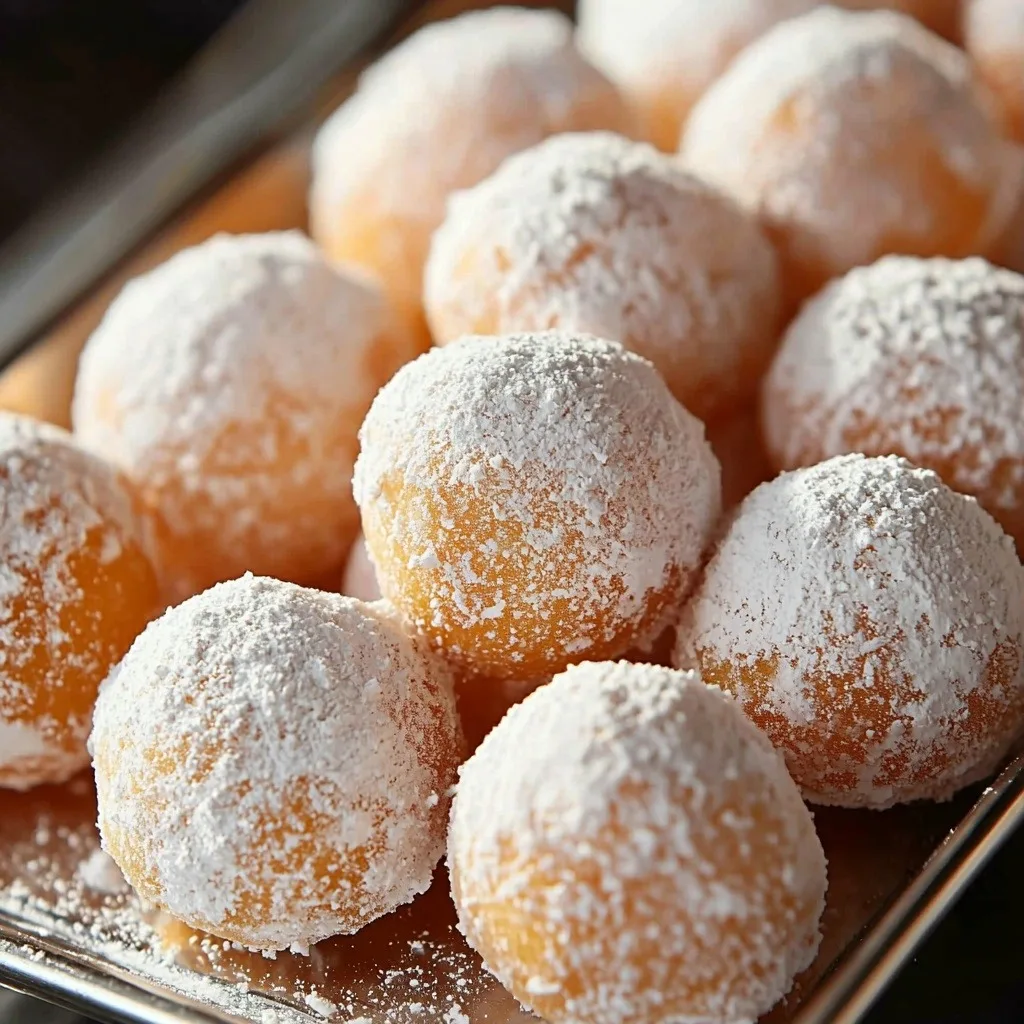
- Shape the Truffles: Roll the dough into 1-inch balls. Place them on a wax paper-lined tray and freeze for about 30 minutes. This step ensures they are firm enough for dipping.
- Melt the Chocolate: In a microwave-safe bowl, melt the chocolate chips and coconut oil in 30-second intervals, stirring until smooth.
- Coat the Truffles: Using a fork, dip each frozen peanut butter ball into the melted chocolate, letting excess chocolate drip off. Return to the tray.
- Chill and Serve: Refrigerate the coated truffles for at least 15 minutes to set the chocolate. Enjoy!
Expert Tips
Having tested these truffles multiple times (a delicious task, indeed), I’ve gathered a few insights:
- Chocolate Coating Smoothness: If the chocolate becomes thick, reheat it briefly or add a tiny bit more coconut oil.
- Decoration Ideas: Drizzle with white chocolate or sprinkle with crushed nuts or sea salt for an extra flair.
- Testing Success: If the mixture feels too dry when forming balls, add a tablespoon of softened butter or a splash of milk.
These tips come from my own kitchen trials, ensuring your truffles are as perfect as possible.
Storage & Substitutions
Proper storage is essential for maintaining the quality of your Reese’s Truffles. Keep them in an airtight container in the refrigerator for up to two weeks. For longer storage, freeze them in a single layer before transferring them to a zip-top bag for up to three months. Defrost in the fridge before serving.
Consider these substitutions for flexibility:
- Nut-Free Option: Swap peanut butter with sunflower seed butter.
- Low-Sugar Version: Use a sugar substitute like Stevia in place of powdered sugar.
FAQ
Can I use chunky peanut butter instead of smooth?
Yes, you can. Chunky peanut butter will add a bit of texture to the truffles, giving a delightful crunch.
What is the best method for melting chocolate for truffles?
The microwave method is fuss-free and quick, but a double boiler can help ensure even heating if you prefer.
How should I package these truffles for gifting?
Place truffles in decorative paper cups and arrange them in a gift box. Store in the fridge until ready to give.
Why do my truffles crack when dipping in chocolate?
If the truffles are too cold or the chocolate is too hot, cracking can occur. Allow some warming time before dipping.
Can these truffles be made vegan?
Absolutely. Use dairy-free chocolate chips and ensure your peanut butter is vegan-friendly.
PrintReeses Truffles

Indulge in homemade Reeses Truffles rich peanut butter decadence Perfect for any sweet tooth craving Discover deliciousness in every bite Try it today
- Prep Time: 15 minutes
- Total Time: 45 minutes
- Yield: 20 truffles
- Category: Dessert
- Cuisine: American
Ingredients
- 1 cup of smooth peanut butter
- 2 cups of powdered sugar
- 1/4 cup of unsweetened cocoa powder
- 1/2 teaspoon of vanilla extract
- 1 cup of semisweet chocolate chips
- 1 tablespoon of coconut oil
Instructions
- In a medium bowl, combine the peanut butter, powdered sugar, cocoa powder, and vanilla extract. Stir until a thick dough forms.
- Roll the dough into 1-inch balls. Place them on a wax paper-lined tray and freeze for about 30 minutes.
- In a microwave-safe bowl, melt the chocolate chips and coconut oil in 30-second intervals, stirring until smooth.
- Using a fork, dip each frozen peanut butter ball into the melted chocolate, letting excess chocolate drip off. Return to the tray.
- Refrigerate the coated truffles for at least 15 minutes to set the chocolate. Enjoy!
Notes
Indulge in the rich, creamy flavor of Reese’s in a bite-sized truffle perfect for the fall season. Easy to make, these no-bake treats blend chocolate and peanut butter for a delightful dessert.