Is there anything that screams holiday cheer quite like a perfectly decorated sugar cookie? I think not! But let’s be honest, a beautiful sugar cookie is only as good as its icing. This isn’t just any icing recipe; it’s The Best Sugar Cookie Icing. We’re talking smooth, glossy, easy to work with, and most importantly, absolutely delicious. Whether you’re a seasoned cookie decorator or just starting out, this recipe will give you the confidence to create stunning, edible works of art this holiday season. Get ready to wow your family and friends with cookies that not only look amazing but taste incredible too! This icing is also perfect for everyday celebrations, from birthdays to “just because” treats.

For years, I’ve been obsessed with perfecting the art of sugar cookie decorating. It’s become a beloved tradition in my family, and I’ve spent countless hours experimenting with different icing recipes to find the absolute best. The result? A foolproof recipe that delivers consistently perfect results. Trust me; this is the only sugar cookie icing recipe you’ll ever need!
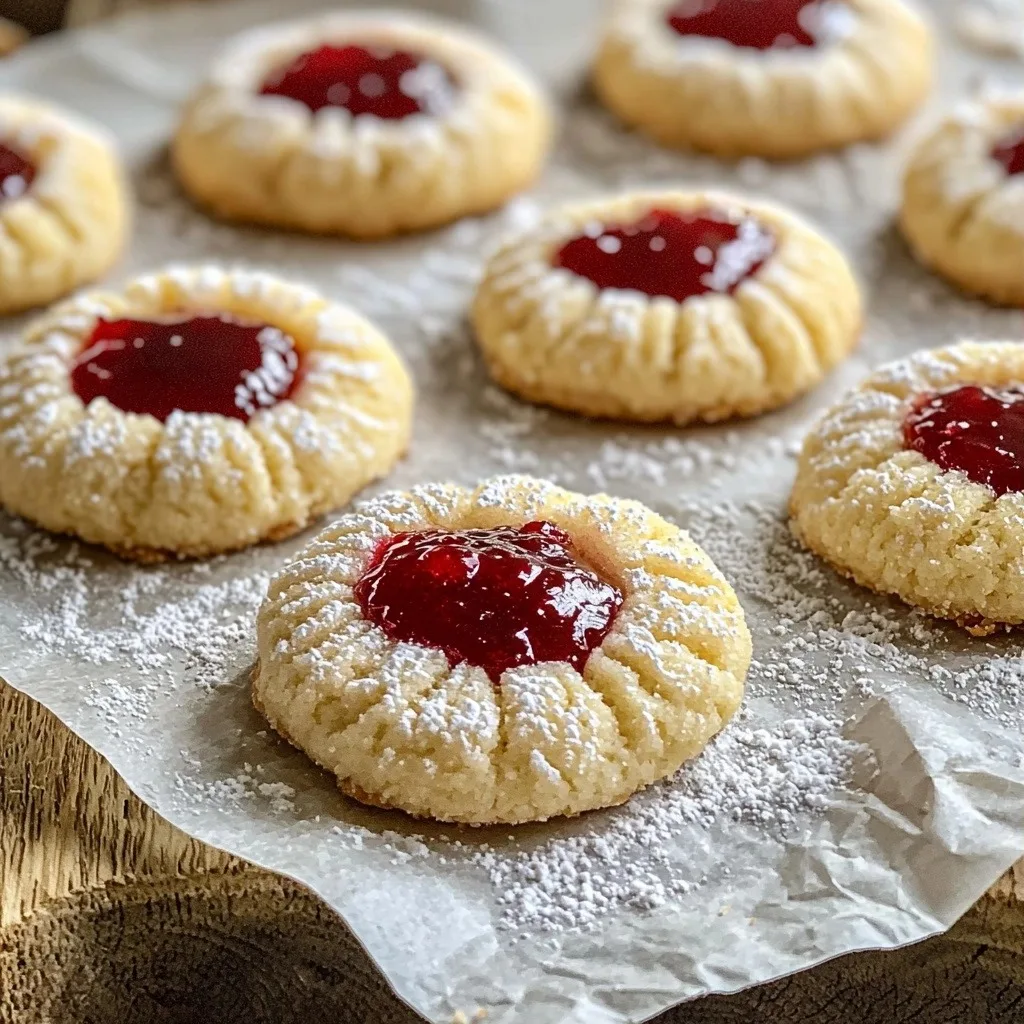
And because it’s October, think Halloween colors: a ghostly white, vibrant orange, spooky black… the possibilities are endless!
Ingredients
Let’s break down what makes this icing so exceptional and discuss how each ingredient contributes to the perfect consistency and flavor.
- Powdered Sugar: The foundation of our icing! Powdered sugar, also known as confectioners’ sugar, is granulated sugar that has been ground into a fine powder and mixed with a small amount of cornstarch. The cornstarch helps prevent clumping and gives the icing its smooth texture. Don’t skip sifting it, for smooth results!
- Light Corn Syrup: The secret to that gorgeous, glossy shine! Corn syrup also helps prevent the icing from drying out too quickly and creates a smooth, even surface. A small amount goes a long way.
- Vanilla Extract: Adds warmth and enhances the overall flavor. Use a high-quality pure vanilla extract for the best taste. You can also experiment with other flavor extracts like almond, lemon, or peppermint.
- Milk (or Water): Used to achieve the desired consistency. Start with a small amount and add more gradually until you reach the perfect consistency. Milk will add a slight richness, while water will create a brighter white icing.
- Food Coloring (optional): Gel food coloring is recommended over liquid food coloring, as it’s more concentrated and won’t thin out the icing as much.
Note: Check the recipe card below for the complete list of ingredients and full directions.
Expert Tips
Here are some tips and tricks I’ve learned over the years to help you achieve icing perfection.
- Consistency is Key: The most important factor in achieving beautifully decorated sugar cookies is the consistency of your icing. You’ll want two main consistencies: outlining (thicker) and flooding (thinner).
- Outlining Consistency: Should be similar to toothpaste. When you lift a spoonful of icing, it should hold its shape for a few seconds before slowly melting back into the bowl.
- Flooding Consistency: Should be similar to honey or school glue. When you lift a spoonful of icing, it should melt back into the bowl within a few seconds and create a smooth, even surface.
- Test the Consistency: Before you start decorating, test the consistency of your icing on a cookie. If it’s too thick, add a little more liquid. If it’s too thin, add a little more powdered sugar.
- Use a Piping Bag or Bottle: For precise decorating, use a piping bag fitted with a small round tip or a squeeze bottle with a fine nozzle.
- Practice Makes Perfect: Don’t be discouraged if your first few cookies aren’t perfect. The more you practice, the better you’ll become!
- Preventing Air Bubbles: Gently tap your filled piping bag on the counter to release any trapped air bubbles. You can also use a scribe tool or toothpick to pop any bubbles that appear on the surface of the icing.
- Drying Time: Allow the icing to dry completely before stacking or packaging the cookies. This can take several hours, or even overnight.
Want to make the icing ahead of time or need to make some swaps due to dietary restrictions? Here’s what you need to know.
- Storage: Store leftover icing in an airtight container in the refrigerator for up to a week. Before using, bring to room temperature and stir well to restore its consistency.
- Dairy-Free: Substitute the milk with a non-dairy alternative like almond milk, soy milk, or oat milk.
- Corn Syrup Alternative: If you prefer to avoid corn syrup, you can substitute it with an equal amount of honey or glucose syrup. Keep in mind that this may slightly alter the flavor and color of the icing.
- Vegan: This recipe is naturally vegan if you use a non-dairy milk alternative.
- Flavor Variations: Get creative with flavorings! Add a few drops of lemon extract, almond extract, peppermint extract, or even a tablespoon of cocoa powder for chocolate icing.
Note: Check the recipe card below for the complete list of ingredients and full directions.
FAQ
Can I make this icing ahead of time?
Yes! This icing can be made up to a week in advance. Store it in an airtight container in the refrigerator. When you’re ready to use it, bring it to room temperature and stir well to restore its consistency.
How do I fix icing that is too thick?
If your icing is too thick, add a teaspoon of milk or water at a time, mixing well after each addition, until you reach the desired consistency.
How do I fix icing that is too thin?
If your icing is too thin, add a tablespoon of powdered sugar at a time, mixing well after each addition, until you reach the desired consistency. Be careful not to add too much powdered sugar, as this can make the icing too stiff.
What is the best way to color sugar cookie icing?
Gel food coloring is the best option for coloring sugar cookie icing because it’s highly concentrated and won’t thin out the icing as much as liquid food coloring. Add a small amount of gel food coloring at a time, mixing well after each addition, until you reach the desired color.
How long does sugar cookie icing take to dry?
The drying time for sugar cookie icing depends on the thickness of the icing and the humidity in your environment. Generally, it takes several hours, or even overnight, for the icing to dry completely. You can speed up the drying process by placing the cookies in front of a fan or in a dehydrator on a low setting.
Can I use this icing for other things besides sugar cookies?
Absolutely! This icing is versatile and can be used for decorating cakes, cupcakes, gingerbread houses, and other baked goods. It’s also delicious drizzled over brownies or scones. Feel free to experiment and get creative!
Why is my icing cracking?
Icing cracks because it dries too quickly. This often happens when the icing is too thin, or the environment is too dry. To prevent cracking, ensure your icing is the correct consistency (not too thin) and consider using a humidifier in your decorating space. Also, avoid placing cookies in direct sunlight while they dry. Adding a tiny bit of glycerin to your icing recipe can also help prevent cracking.
So, there you have it – The Best Sugar Cookie Icing recipe to elevate your holiday baking (or any day, really!). With its smooth texture, glossy shine, and customizable flavor, this icing is sure to impress. Don’t be afraid to get creative with your decorating and have fun with it! Whether you’re a seasoned pro or a beginner, this recipe is foolproof and will help you create stunning, delicious sugar cookies every time.
PrintSugar Cookie Icing

The Best Sugar Cookie Icing EVER Make perfect sugar cookies with this easy icing recipe Get the recipe and try it today
- Prep Time: 5 minutes
- Cook Time: 0 minutes
- Total Time: 5 minutes
- Yield: Enough for 24 cookies
- Category: Dessert
- Cuisine: American
Ingredients
-
Frosted Sugar Cookies
- 2 1/2 cups (320g) all-purpose flour
- 2 tbsp cornstarch
- 1 tsp baking soda
- 1/2 tsp kosher salt
- 10 tbsp unsalted butter, room temp
- 1 cup (200g) granulated sugar
- 1/4 cup (50g) vegetable or canola oil
- 1 large egg + 1 egg yolk, room temp
- 2 tsp vanilla extract
Vanilla Buttercream
- 3/4 cup (185g) unsalted butter, room temp
- 2–3 cups powdered sugar
- 1 tsp vanilla extract
- 1–2 tbsp milk
- Pink gel food coloring
- Rainbow sprinkles
Instructions
Frosted Sugar Cookies
-
Whisk flour, cornstarch, baking soda, and salt in a bowl.
-
In another bowl, beat butter and sugar until fluffy (2–3 min).
-
Slowly add oil while mixing.
-
Add eggs one at a time, then mix in vanilla.
-
Add dry ingredients in two parts, mixing just until combined.
-
Chill dough (covered) for 30 minutes.
-
Preheat oven to 350°F (175°C) and line a baking sheet with parchment.
-
Scoop ¼ cup dough per cookie, roll into balls, and flatten slightly.
-
Bake 12–15 minutes until edges are pale golden.
-
Cool 3 minutes on the pan, then transfer to a rack.
Vanilla Buttercream
-
Beat butter until smooth.
-
Add 2 cups powdered sugar, mix, then add vanilla and 1 tbsp milk.
-
Adjust texture: add more sugar if thin or 1 more tbsp milk if thick.
-
(Optional) Tint with pink and a tiny bit of brown food coloring.
-
Frost cooled cookies and add sprinkles.